
I have been using my old Raspberry Pi 2 Model B+ as a media center with LibreELEC for a very long time. Today, I decided to install another system on my device because I have no Network Attached Storage (NAS) at home, but a few external hard disk drives (HDDs). Using all of them via USB is not that comfortable, so I want to access them via my private network at home. The most popular system to run a NAS server on a Raspberry Pi is called OpenMediaVault. The downloads of the OpenMediaVault images are available at Sourceforge:
https://sourceforge.net/projects/openmediavault/files/Raspberry%20Pi%20images/
The difference to other Raspberry Pi images is that they offer .img.xz files, which can be written directly to the SD card without decompressing. To write the image to the SD card, the application balenaEtcher is available for different operating systems and also in a portable version, thus you do not need to install the application:
https://www.balena.io/etcher/
At first, select the downloaded image and the target device (should be the microSD card of your Raspberry):![]()
Now, the flashing process is running: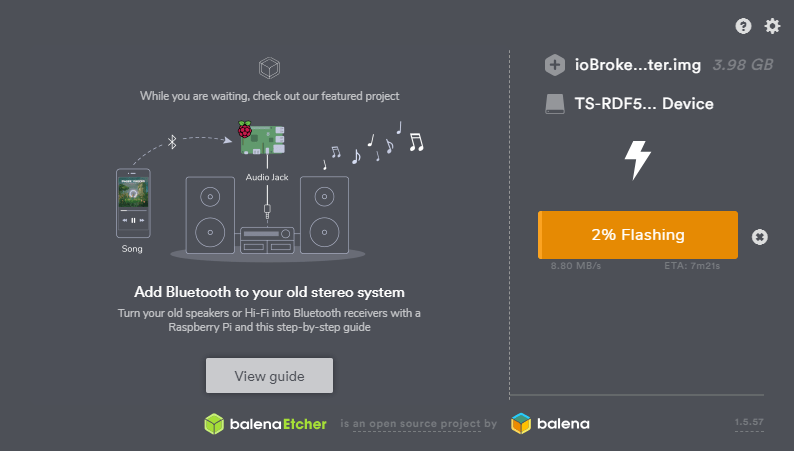
After completion, you should see the following screen: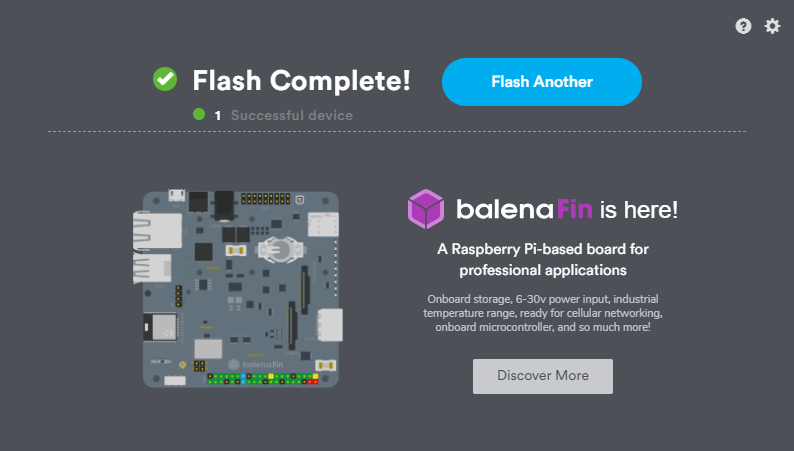
Great! After flashing the image to the SD card, the installation of the system will be completed after first start of your Raspberry Pi. This can take a few minutes. Please note that a network connection is required during this installation procedure. After one more reboot, the system is ready to use.
The system can be accessed via the Web Interface. Simply enter the IP address of the Pi in your browser. The default login data for the web interface is:
admin :: openmediavault
The default login data for a SSH connection is:
root :: openmediavault
 Disassembly")


 Disassembly")


