
CloudFlare is one of the most popular Content Delivery Networks (CDNs). This is a distributed network of data centers and servers. The aim of such CDNs is to offer high-availability as well as performance for end users from all over the world. Fortunately, they also offer a free version of their product with limited features, but it is a great way to test it and get started. I want to guide you through the setup Of CloudFlare CDN.
At first you need to create an account obviously. Just visit the website: CloudFlare
After creating your personal account, you can start to configure CloudFlare for your website. Simply enter your URL and then you will be guided through the configuration process.
One of the first setups during setup is to change the nameservers at your web hosting provider. So, you need to log on to the management portal of your web hosting, go to your domain settings / DNS settings and adapt the nameservers to the CloudFlare nameservers displayed. From this time on, all your DNS records will be maintained at CloudFlare and not at your hosting provider anymore, keep this in mind. It can take up to 24 hours until the changes are applied, so do not expect that to work instantly.
If you are looking for a new reliable and performant webhost, I can totally recommend you Bluehost #ad
Change your nameservers
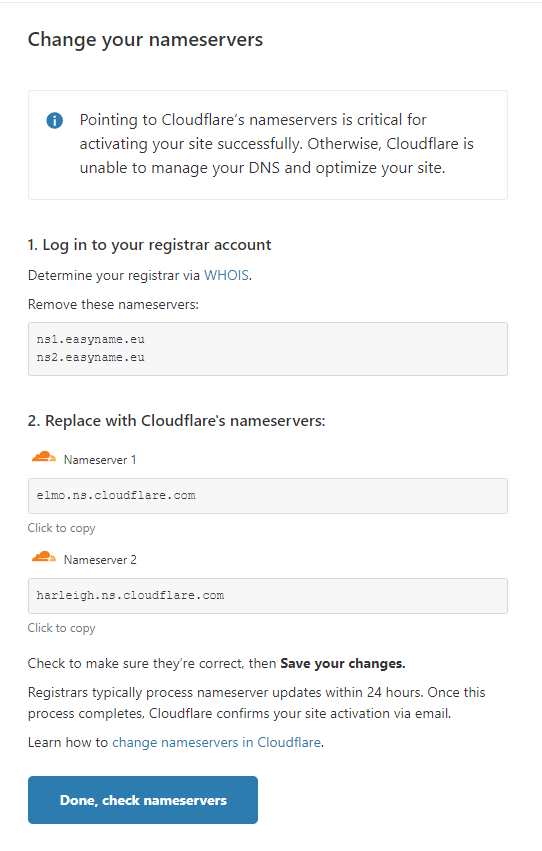
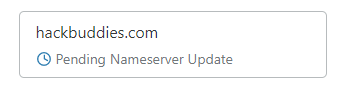
After you hit the button “Done, check nameservers”, you will get the updated status of “Pending Nameserver Update”, which will switch to “Active” as soon as the nameserver update is applied.
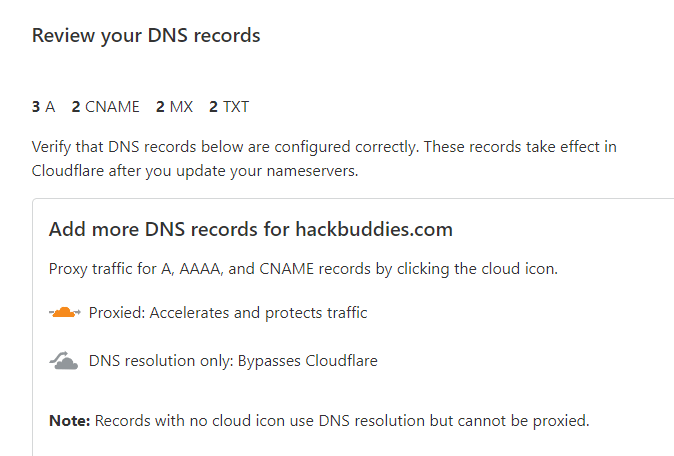
Review DNS records
The next step is to review your existing DNS records which were imported from your hosting provider to CloudFlare. In my case, there were:
- A records
- CNAME records
- MX records
- TXT records
If you are unaware of DNS records and their types you can check out my other post DNS Records
After you reviewed and compared them with the existing ones at your web host you can confirm that import and continue the setup.
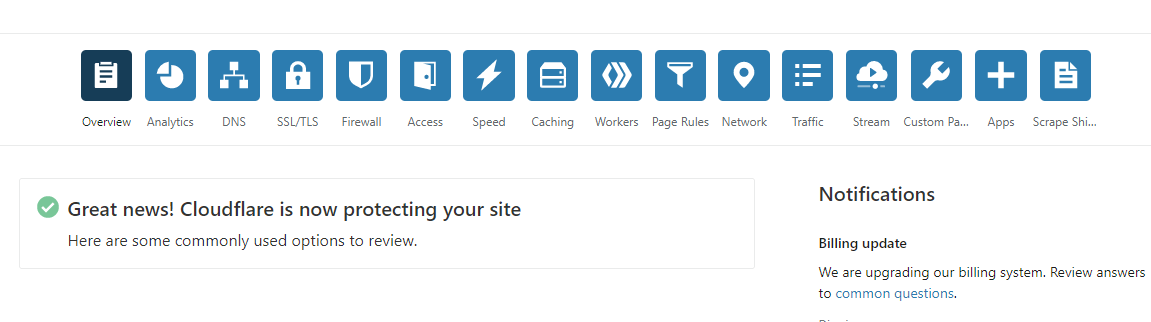
Basically, that’s it! The initial setup Of CloudFlare CDN is finished. Now is the time to wait for your pending nameserver update at the domain registrar. You can check the CloudFlare portal for the current status. As soon as this status is “Active”, you can check out the different functions there. Keep in mind that the free version is limited but it is a great way to test the tool in general and get an overview.
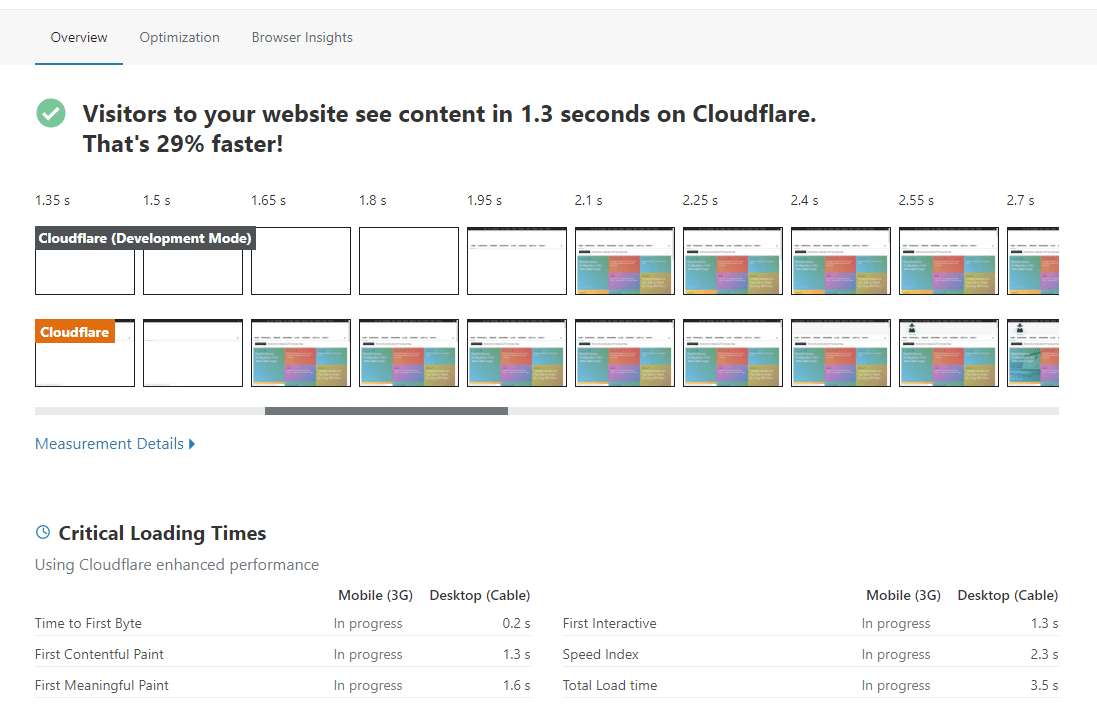
You can also perform a speed test there. In my case (without any customizations and with only free version of CloudFlare), the speed could be improved by 29%:
 Disassembly")


 Disassembly")


")
