
I have been using my old Raspberry Pi 2 Model B+ as a media center with LibreELEC for a very long time. Today, I decided to install another system on my device because I have no Network Attached Storage (NAS) at home, but a few external hard disk drives (HDDs). Using all of them via USB is not that comfortable, so I want to access them via my private network at home. The most popular system to run a NAS server on a Raspberry Pi is called OpenMediaVault. I will guide you through the Installation of OpenMediaVault5 NAS Raspberry Pi
Required Hardware
- Raspberry Pi
- Power Supply
- microSD card
- Screen
- HDMI cable
- Keyboard
- Mouse
- Network Connection
- External hard drive
Installation and Setup of Raspberry OS
Write Image to microSD card
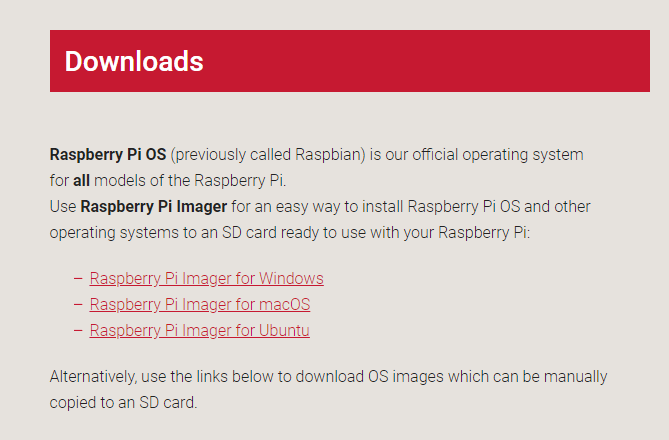
At first we are going to install Raspberry Pi OS (or as it was previously named Raspbian) by writing the image to the microSD card. They provide a simple Imager tool for multiple operating systems like Windows, macOS and Ubuntu. You can download it here
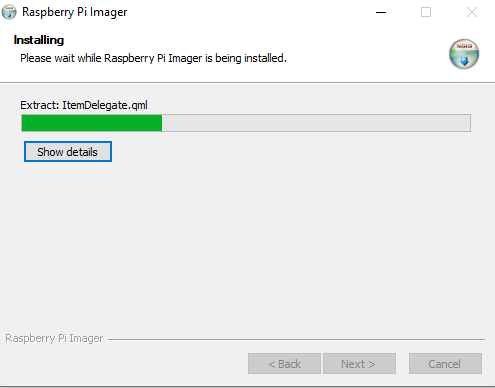
After downloading the Imager application, simply execute the setup and start the installation:
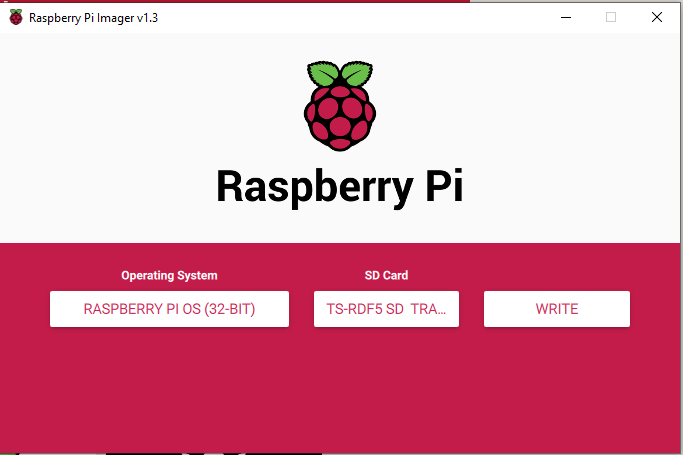
After the installation is completed, you can open the application on your system. Then you can select the operating system which should be written to the SD card. Now you can select the target, which is of course the microSD card of the Raspberry Pi.
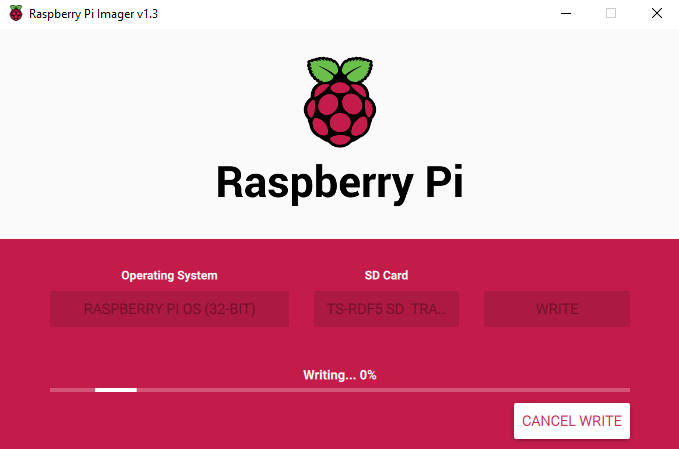
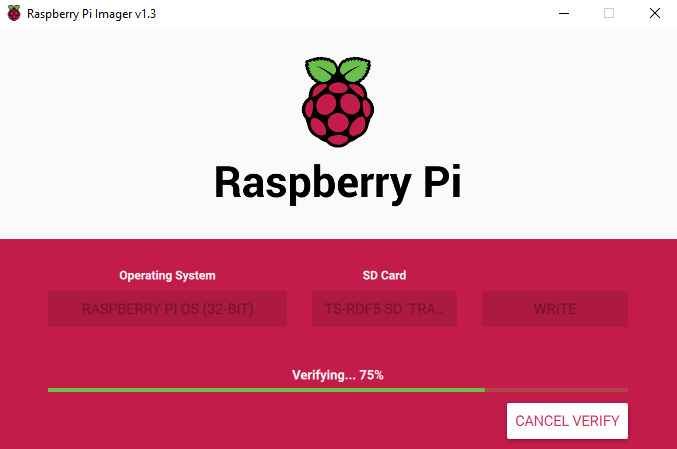
After pressing Write, you can see the progress of writing the image to the SD card on the bottom.
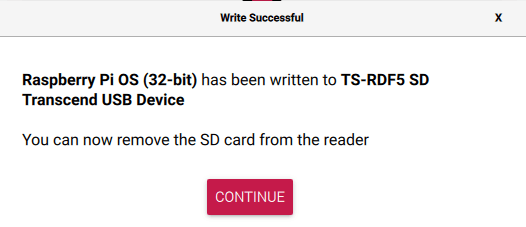
When the image has been written to the SD card, the image is getting verified:
If verification is completed, you can remove the SD card from the card reader or laptop and insert it into your Raspberry Pi.
Configuration of Raspberry Pi OS
When you have inserted the SD card to your raspberry, you can also connect a keyboard, a mouse, a screen and a network cable if possible. Then you can connect the power supply to boot it. At the first start, the operating system will get installed. This will take a few minutes, but not too long. After that, you can continue with the basic configuration which is pretty straightforward. You can define things like time and date, keyboard layout, WiFi Connection and so on. I would also suggest you to change the password of the default user “pi” to your personal one.
Establish a SSH/VNC connection
In the configuration of your Raspberry Pi you can also enable services. I suggest you to enable at least the following 2 services: SSH and VNC so you can remotely connect to your device from your laptop. This has also the advantage that you do not need anything attached at your Raspberry Pi (like screen, mouse or keyboard).
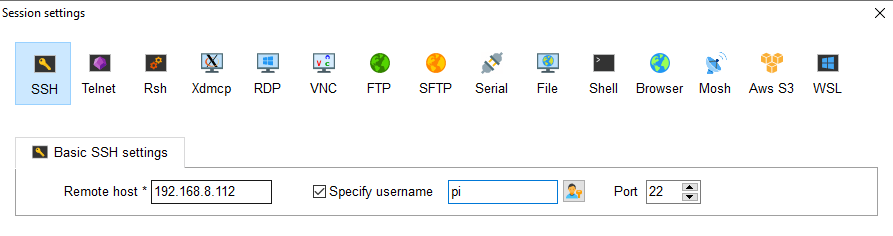
After activating the SSH service in the configuration, you can use your favourite SSH client. I am using MobaXterm. Simply enter the IP address of the Pi, specify the username “pi” and your personalized password. You have to use the default SSH port 22.
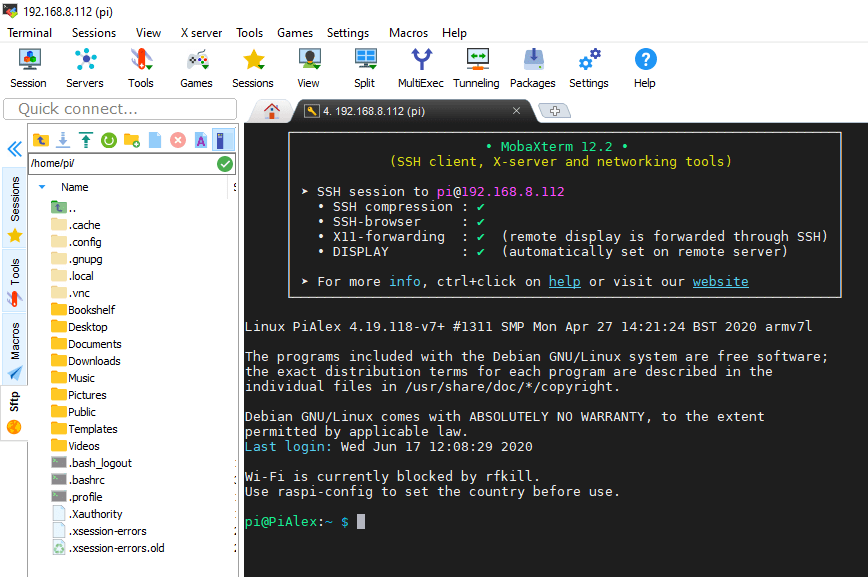
If you see the following output, you connected successfully to your Raspberry Pi via Secure Shell!
Another possibility is to use the VNC connection if you want the graphical user interface (GUI) of the Raspberry Pi OS. To establish a VNC connection, you need additional software like RealVNC. After installing the application, start it and enter the remote IP address of the Pi:
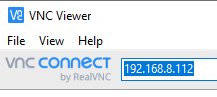
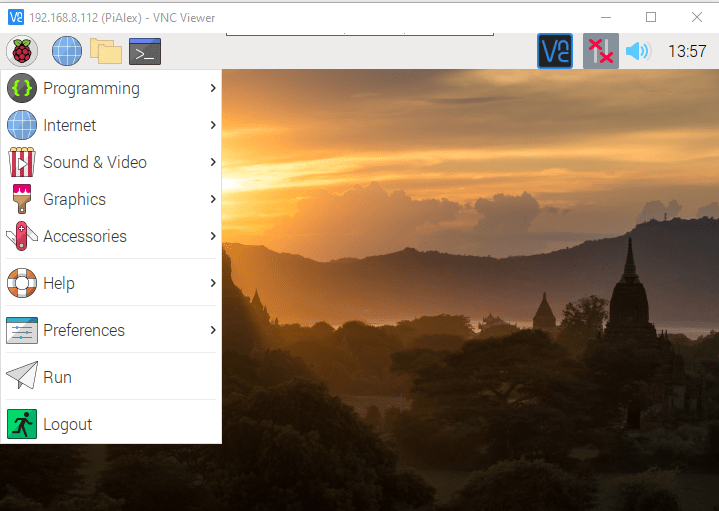
Then you are able to see the video output of your Raspberry Pi OS and can do everything there.
Installation of OpenMediaVault (OMV)
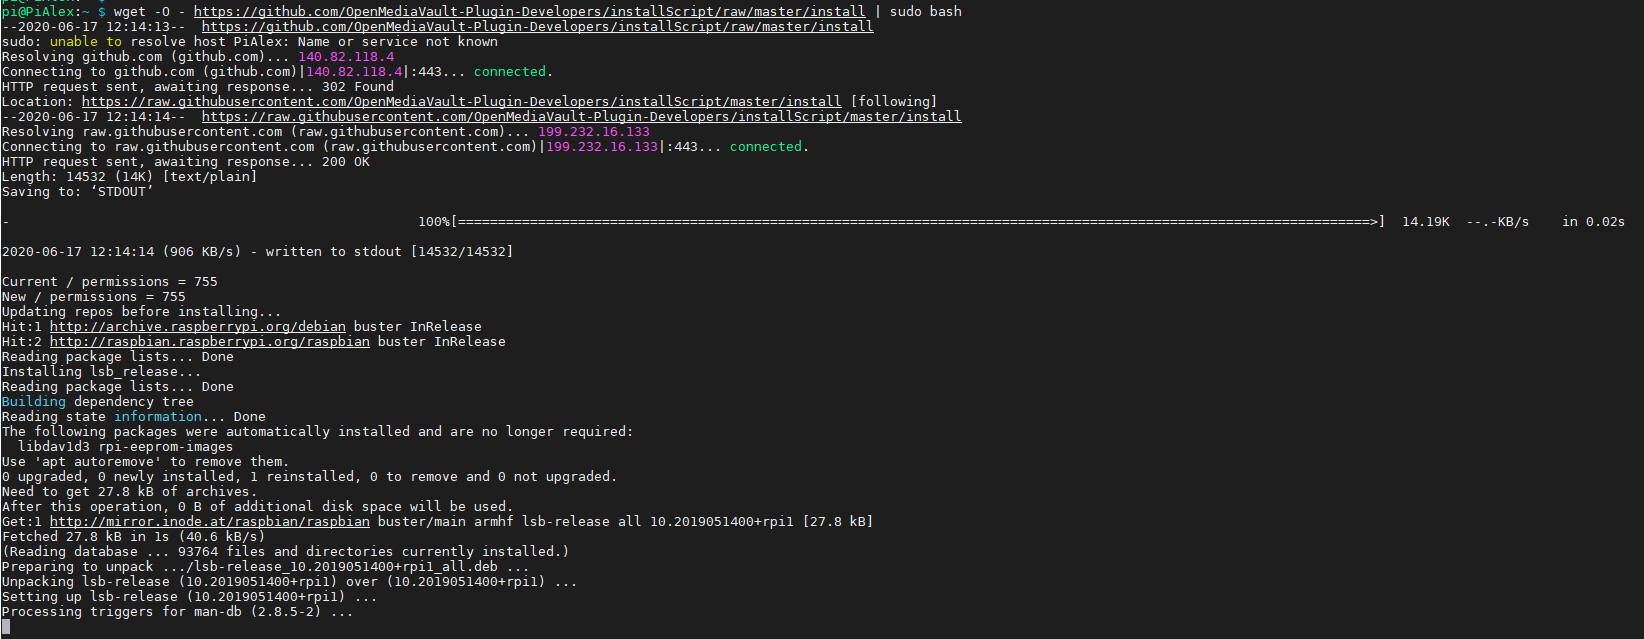
Now, after the setup and configuration of Raspberry Pi OS is completed, we can finally move on to the installation of our NAS software OpenMediaVault. The basic installation is truly simple, because we just need to execute one line of script in the Pi command line:
wget -O - https://github.com/OpenMediaVault-Plugin-Developers/installScript/raw/master/install | sudo bashThis line of code will directly start the install script for OMV5. Basically there is no action needed from our side. So, grab a coffee or something like that because this will take up to a hour to complete. After starting it, you will see this screen:
During the execution, you might see a lot of packages getting installed on your system: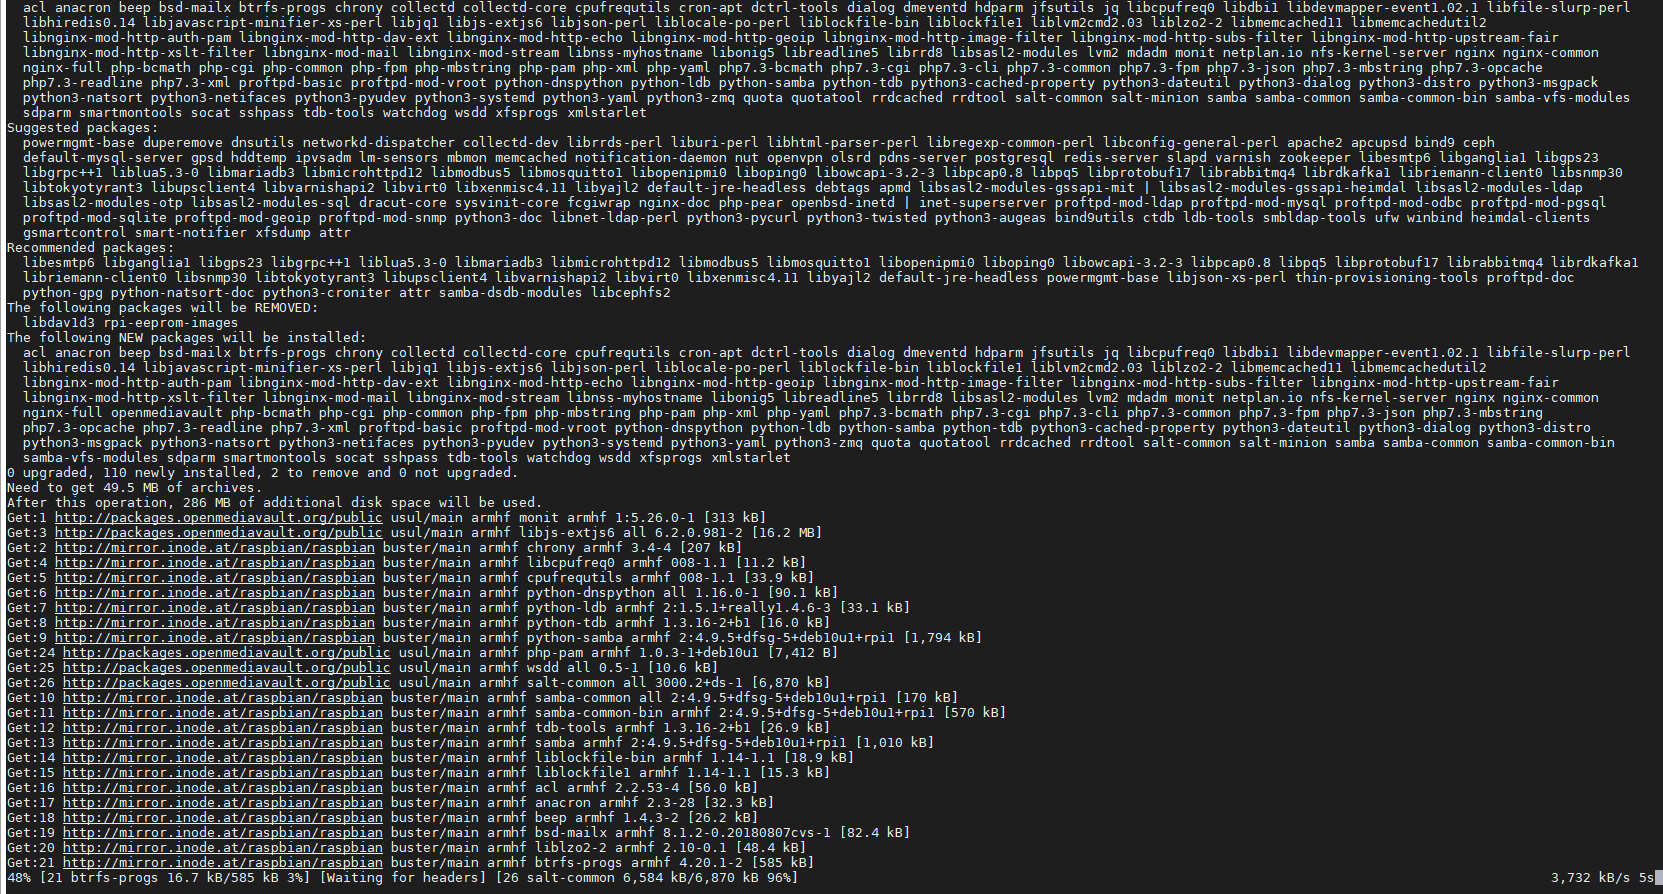
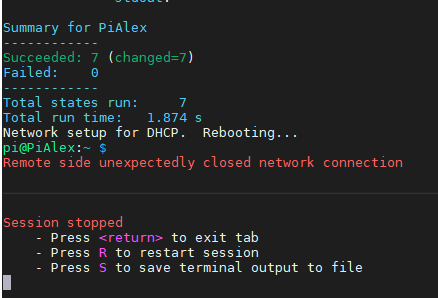
If you were patient enough to let it finish, you will finally see this screen, where the SSH connection gets lost because of a reboot of the device. When the Pi is running again, the installation of OpenMediaVault5 NAS Raspberry Pi is completed!
OpenMediaVault Web Interface
OpenMediaVault will automatically start when your Raspberry Pi boots up. You can access the web interface by simply entering the IP address of the Pi into your web browser on your laptop e.g. in the same network. In my case it is http://192.168.8.112/
The default login is:
Username: admin
Password: openmediavault
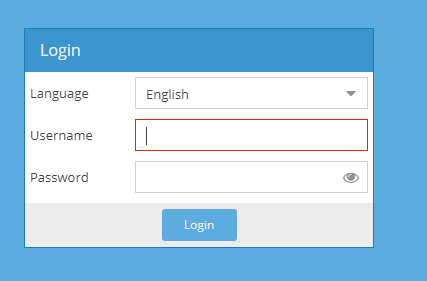
The web interface looks like that:
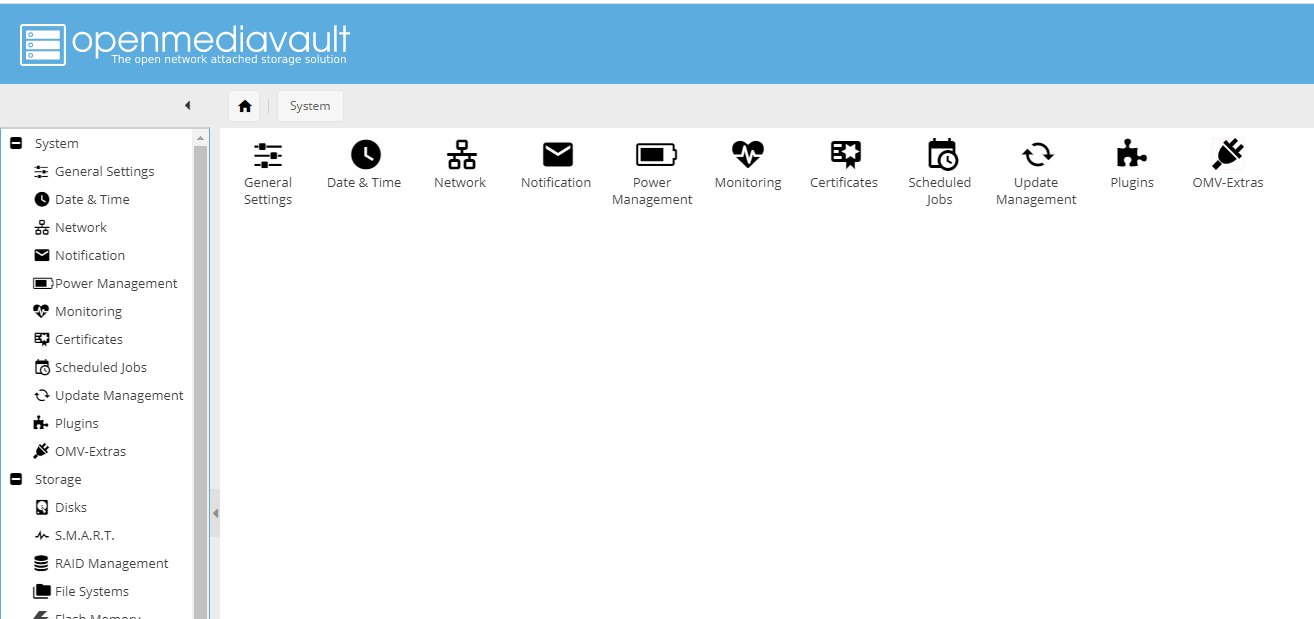
So, this was the guide to get OpenMediaVault5 NAS Raspberry Pi running. I will go into detail on using it as a NAS in another article, but I need some more time to write it. Hope to see you soon again on my site.
 Disassembly")


 Disassembly")


