
Introduction
This article covers the SSD Upgrade of my Huawei MateBook D14 Disassembly. Here are the exact specifications, but it might also apply to other models of this series.
Model: W00D-53010GXL
CPU: AMD Ryzen 5 2500U
GPU: AMD Radeon RX Vega 8
Memory: 8GB
Find all details and a notebook test here.
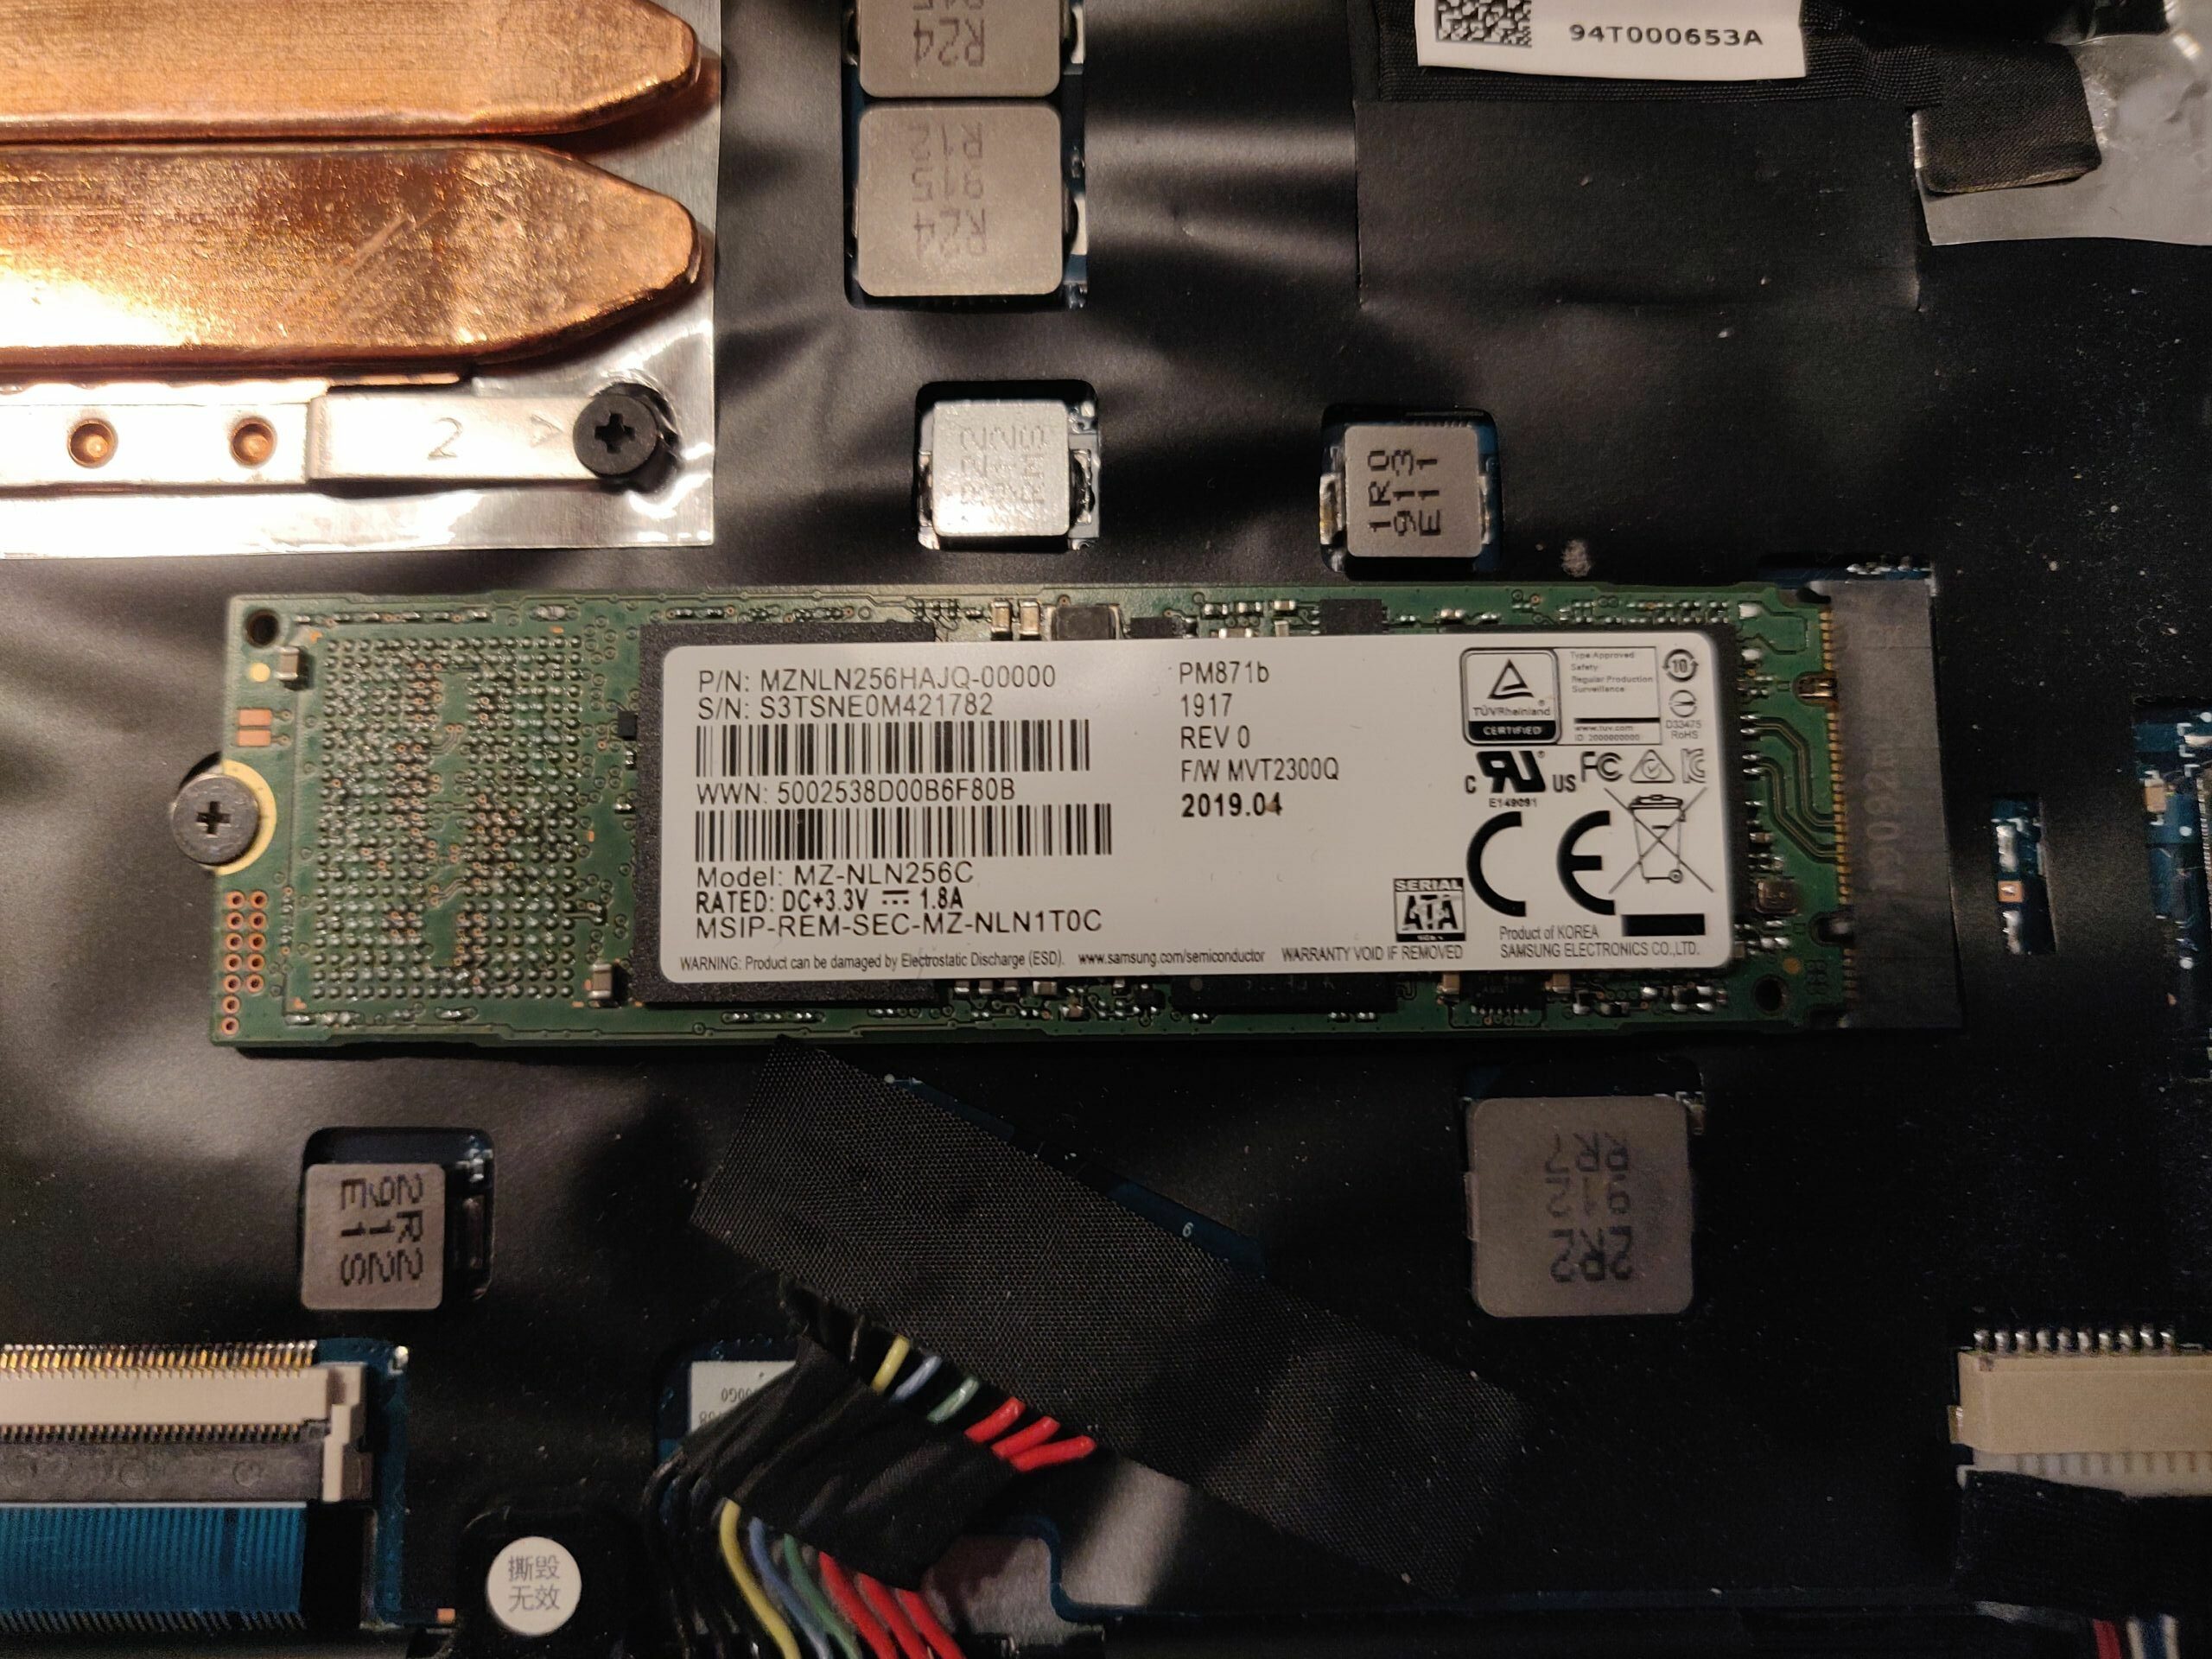
I upgraded the existing M.2 SATA SSD with 256GB to a 1TB M.2 NVMe SSD because I needed more storage and there was also the chance to significantly improve performance because of the upgrade from SATA to NVMe. I replaced the existing SK Hynix SC313 HFS256G39TNF with a new Samsung 970 EVO 1TB.
As I could not find the exact details for this model before ordering the new SSD I wanted to share this information with you. The Huawei Matebook D 14 offers support for M.2 SATA as well as NVMe SSDs, both connectors are supported, so I would strongly suggest you to invest in a NVMe model due to the better performance.
To make the upgrade really easy and simple, you should clone your current SSD to the new one. Find here the guide.
Disassembly and Parts
After removing all the screws, it was quite tricky to remove the backcover. According to my experience I would suggest you to start at the corner where the screwdriver is heading to in the image below. Simply use a plastic card or some plastic disassembly tool which will help you in this step.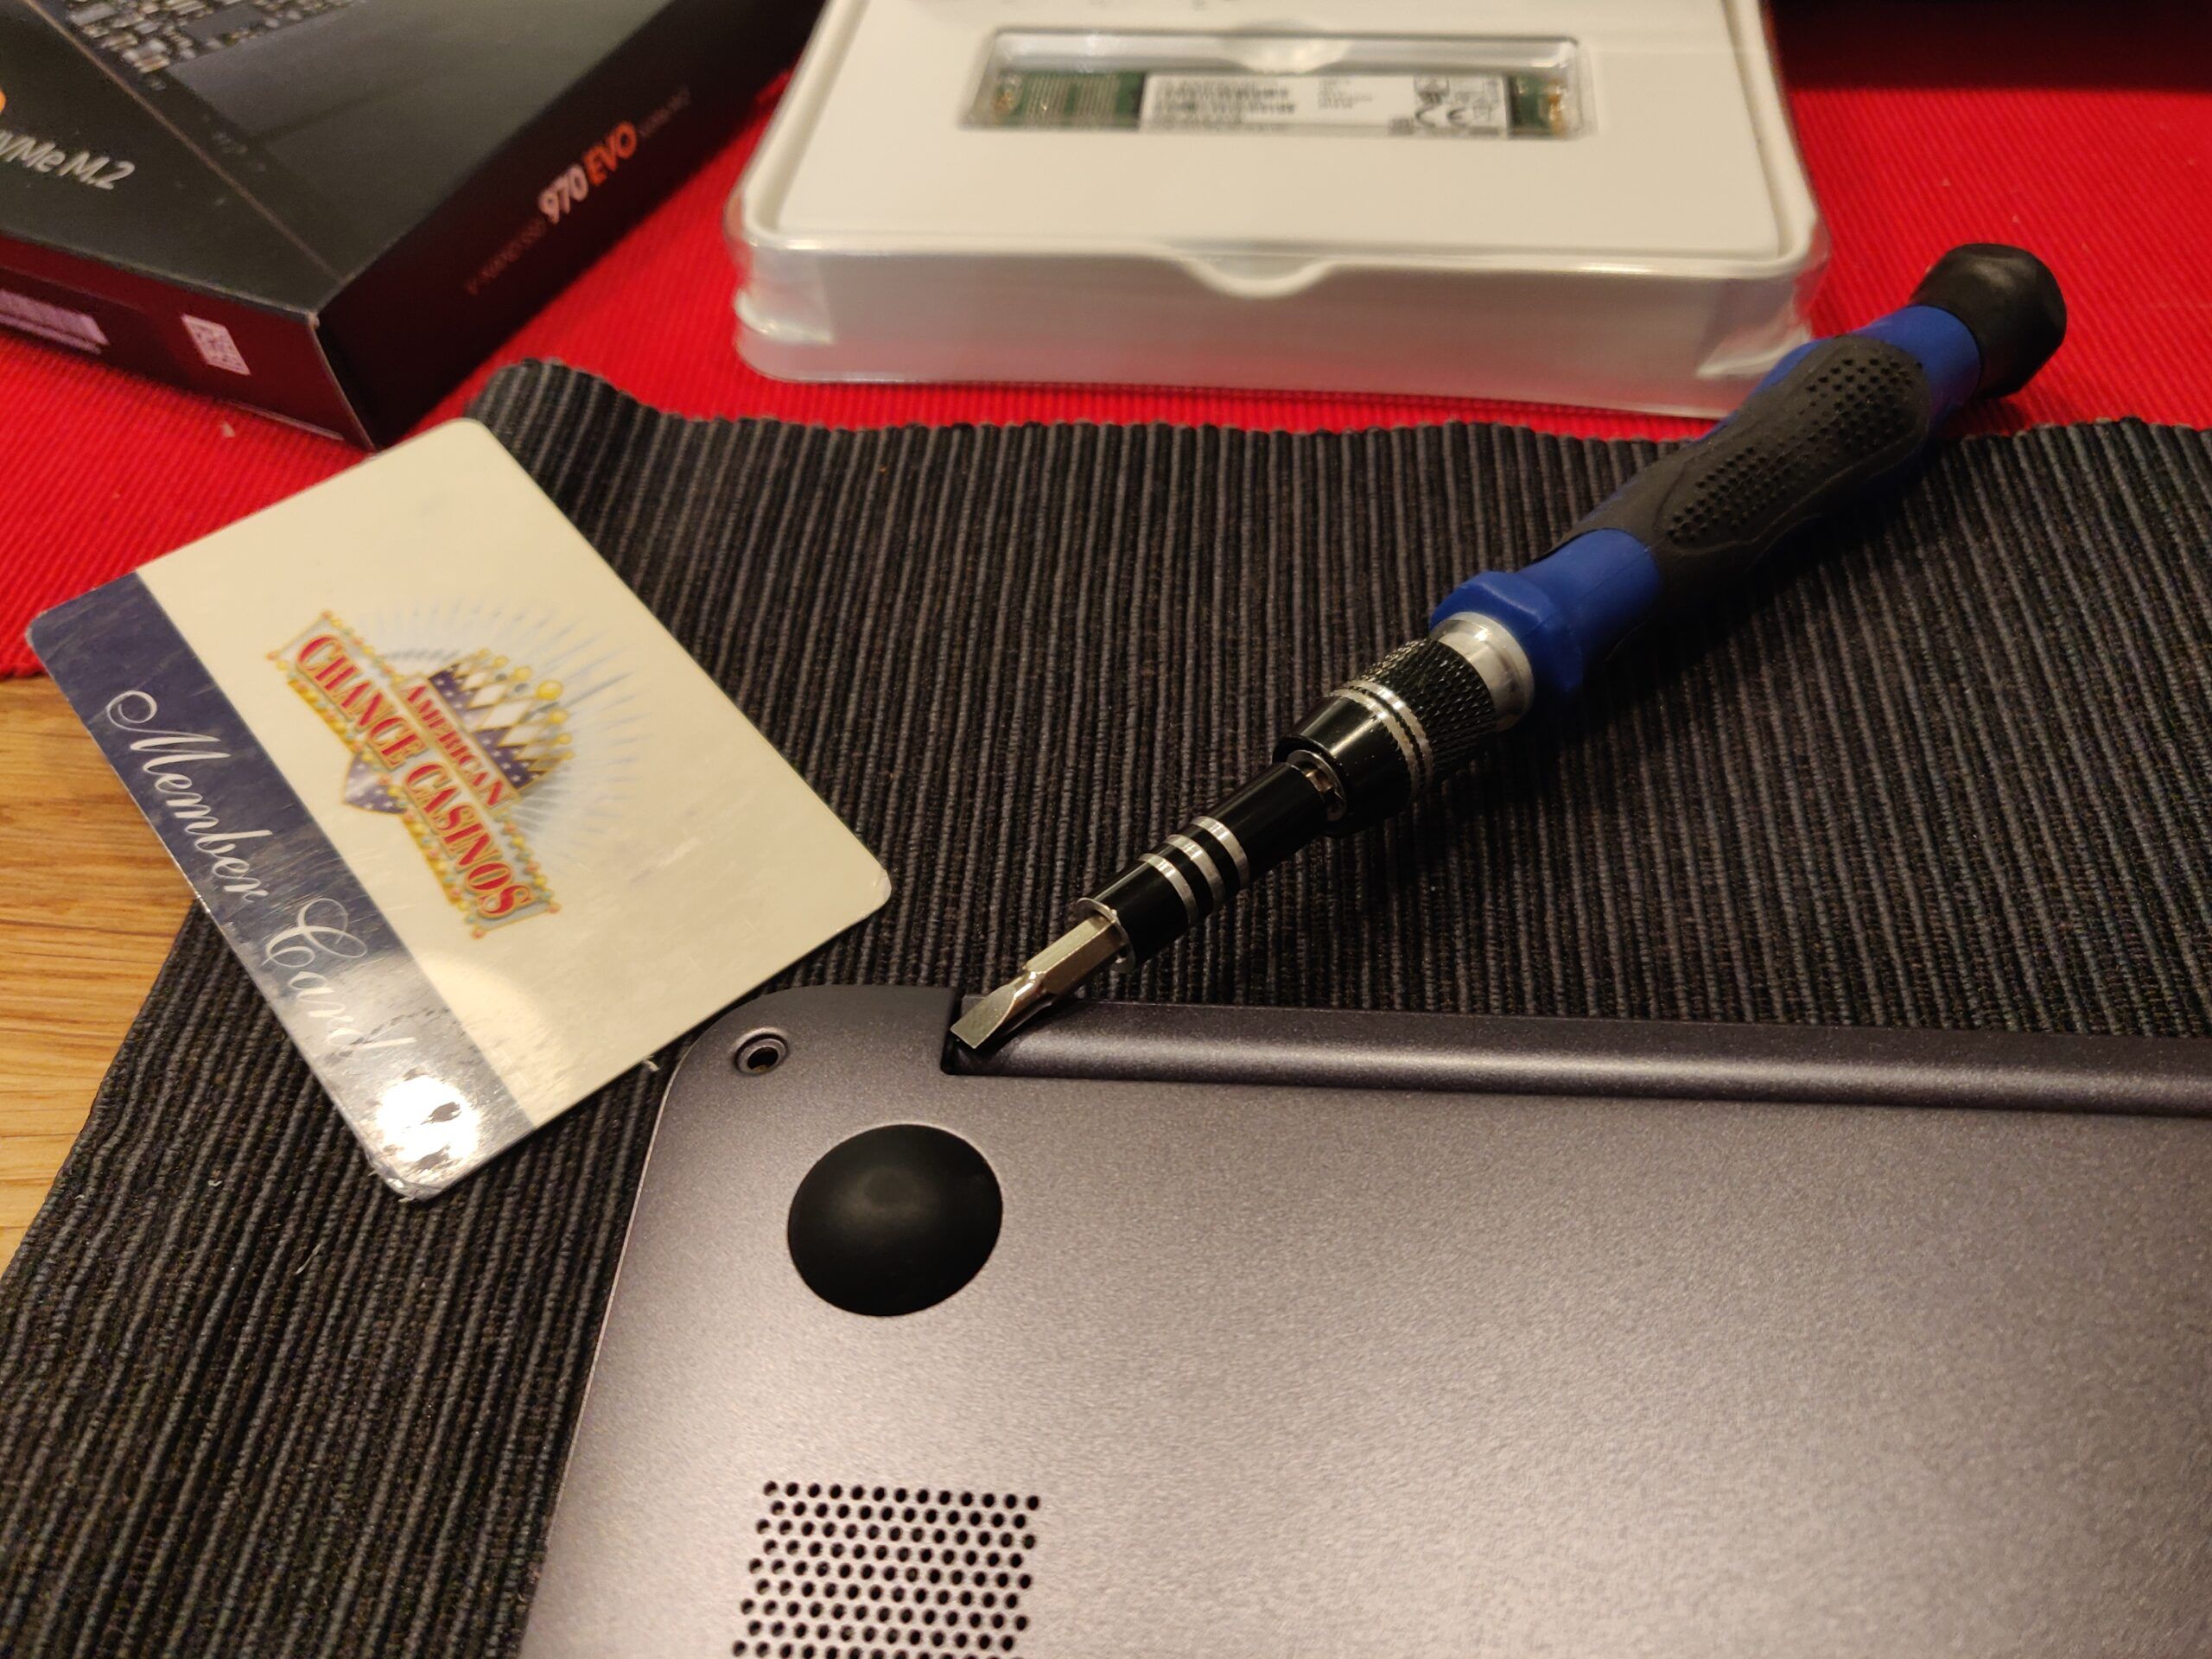
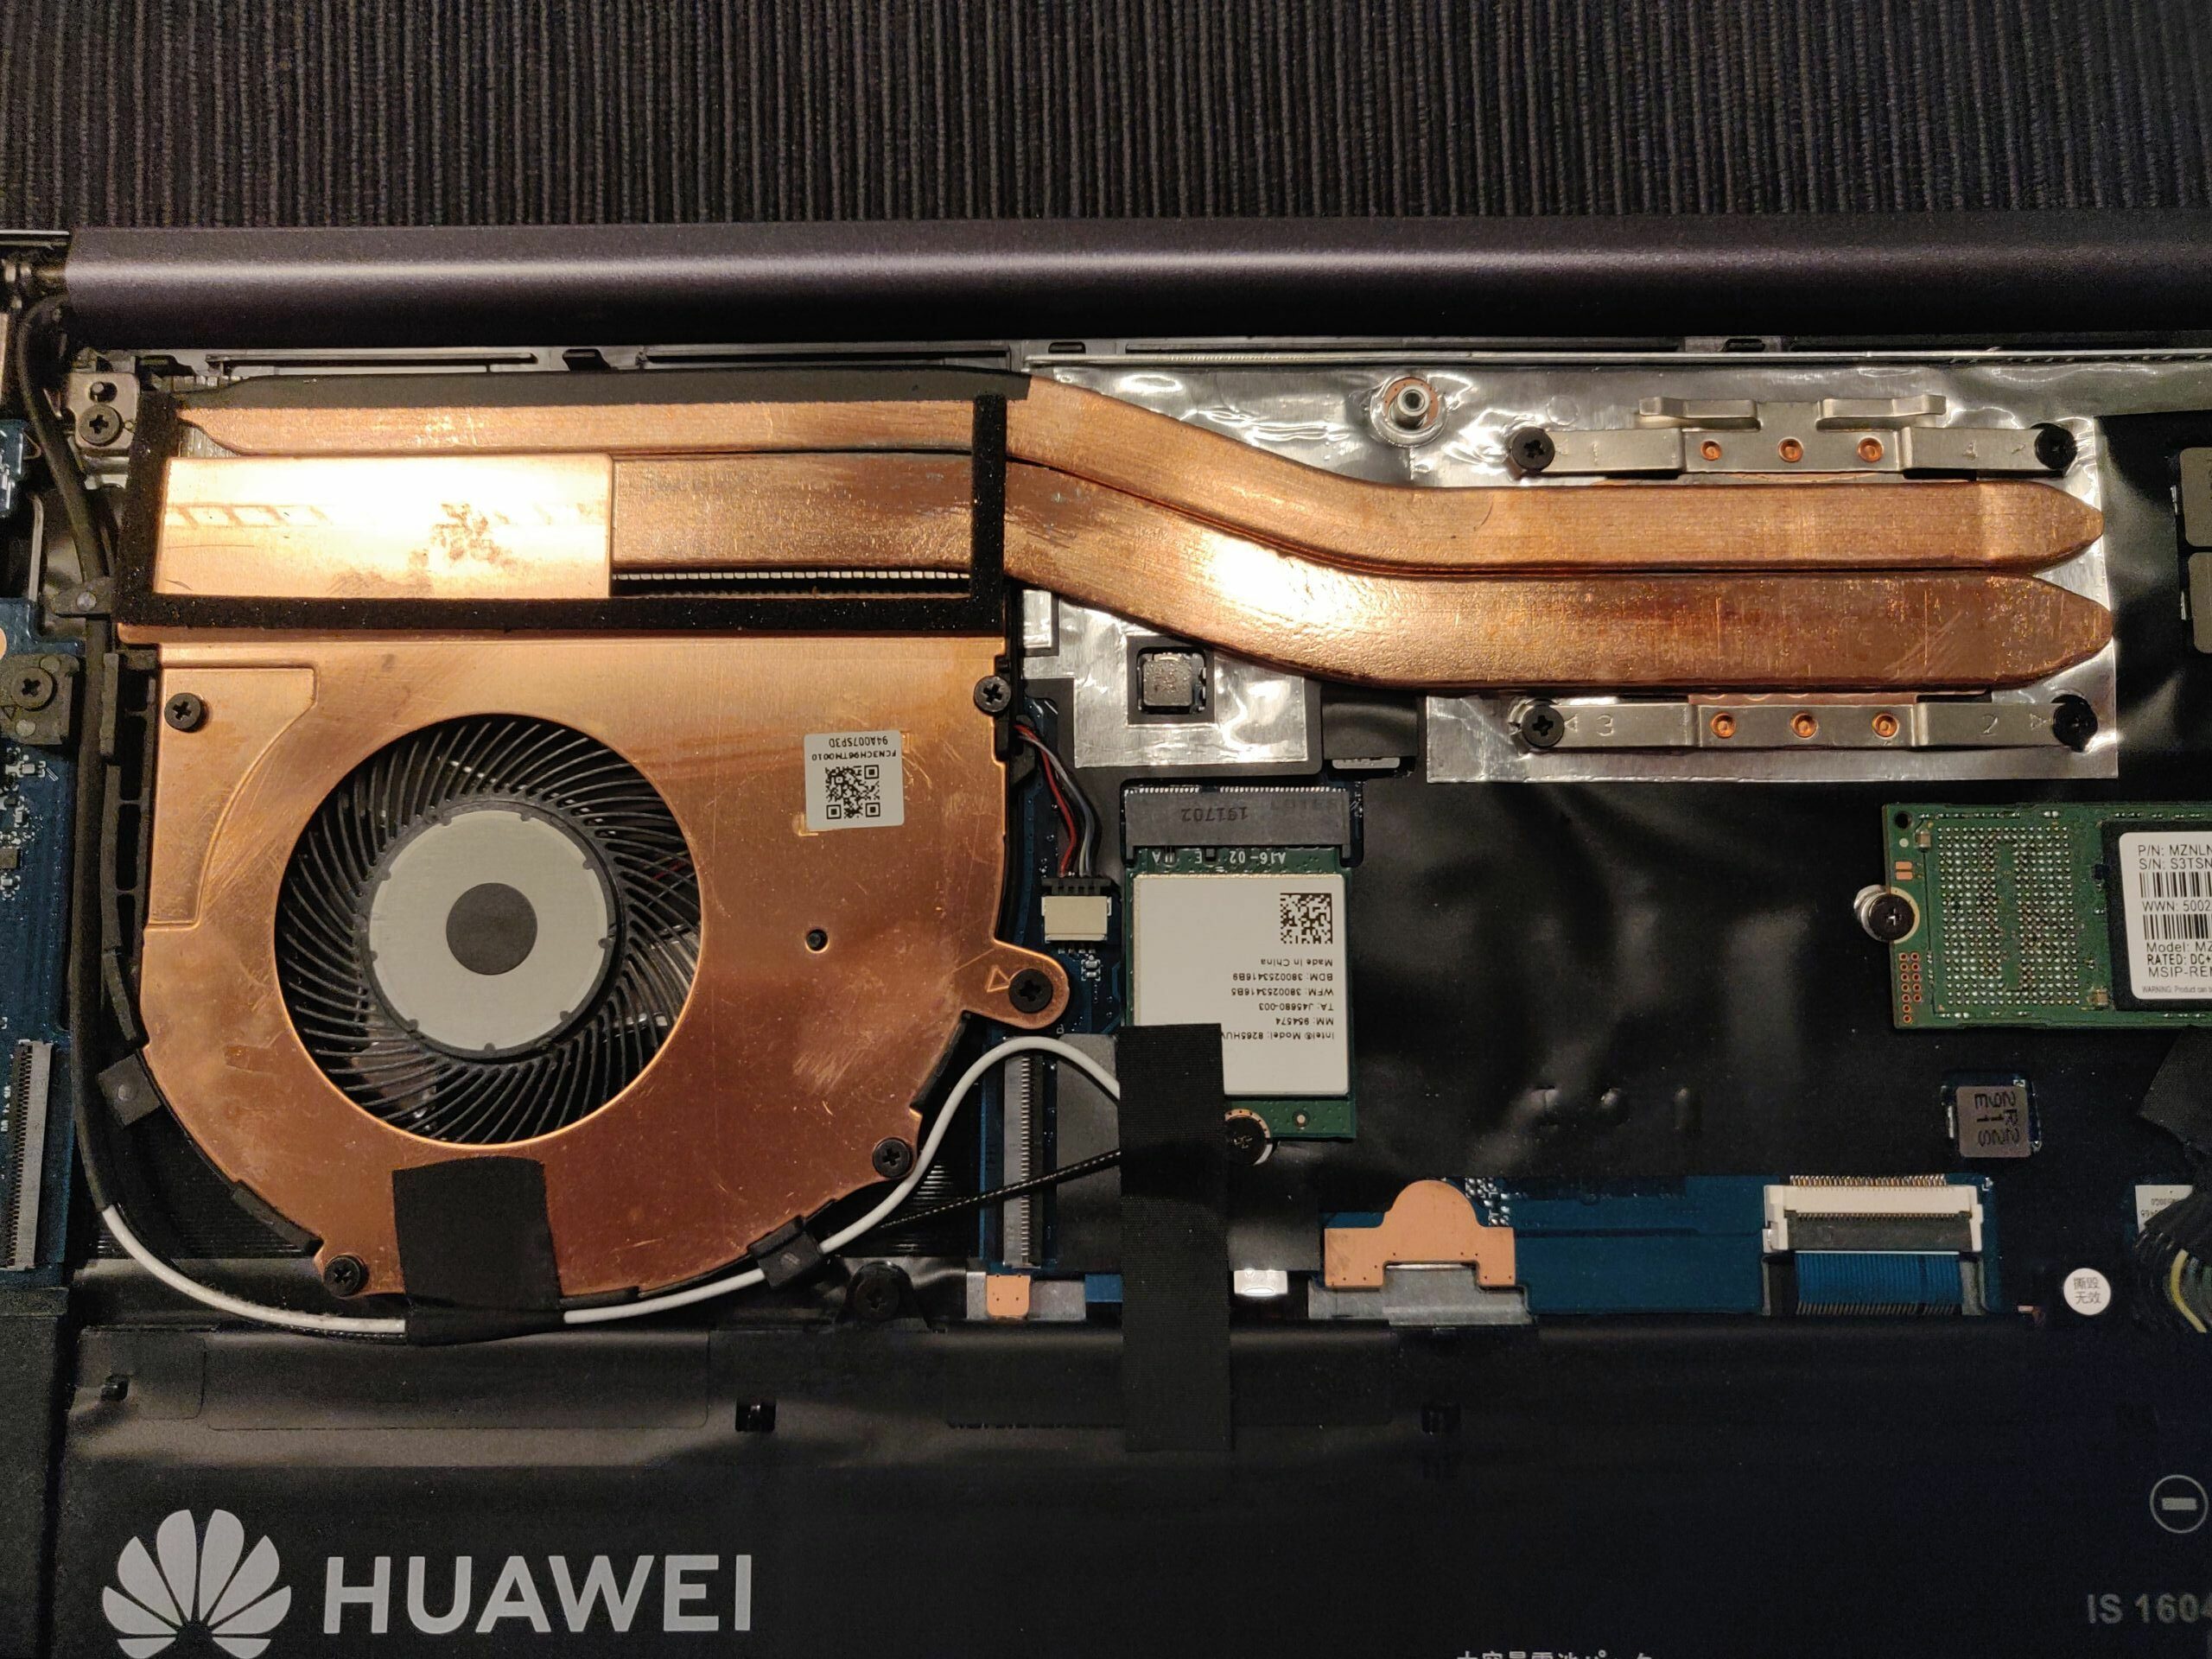
After removing the backcover you can directly see the M.2 SSD to the top right: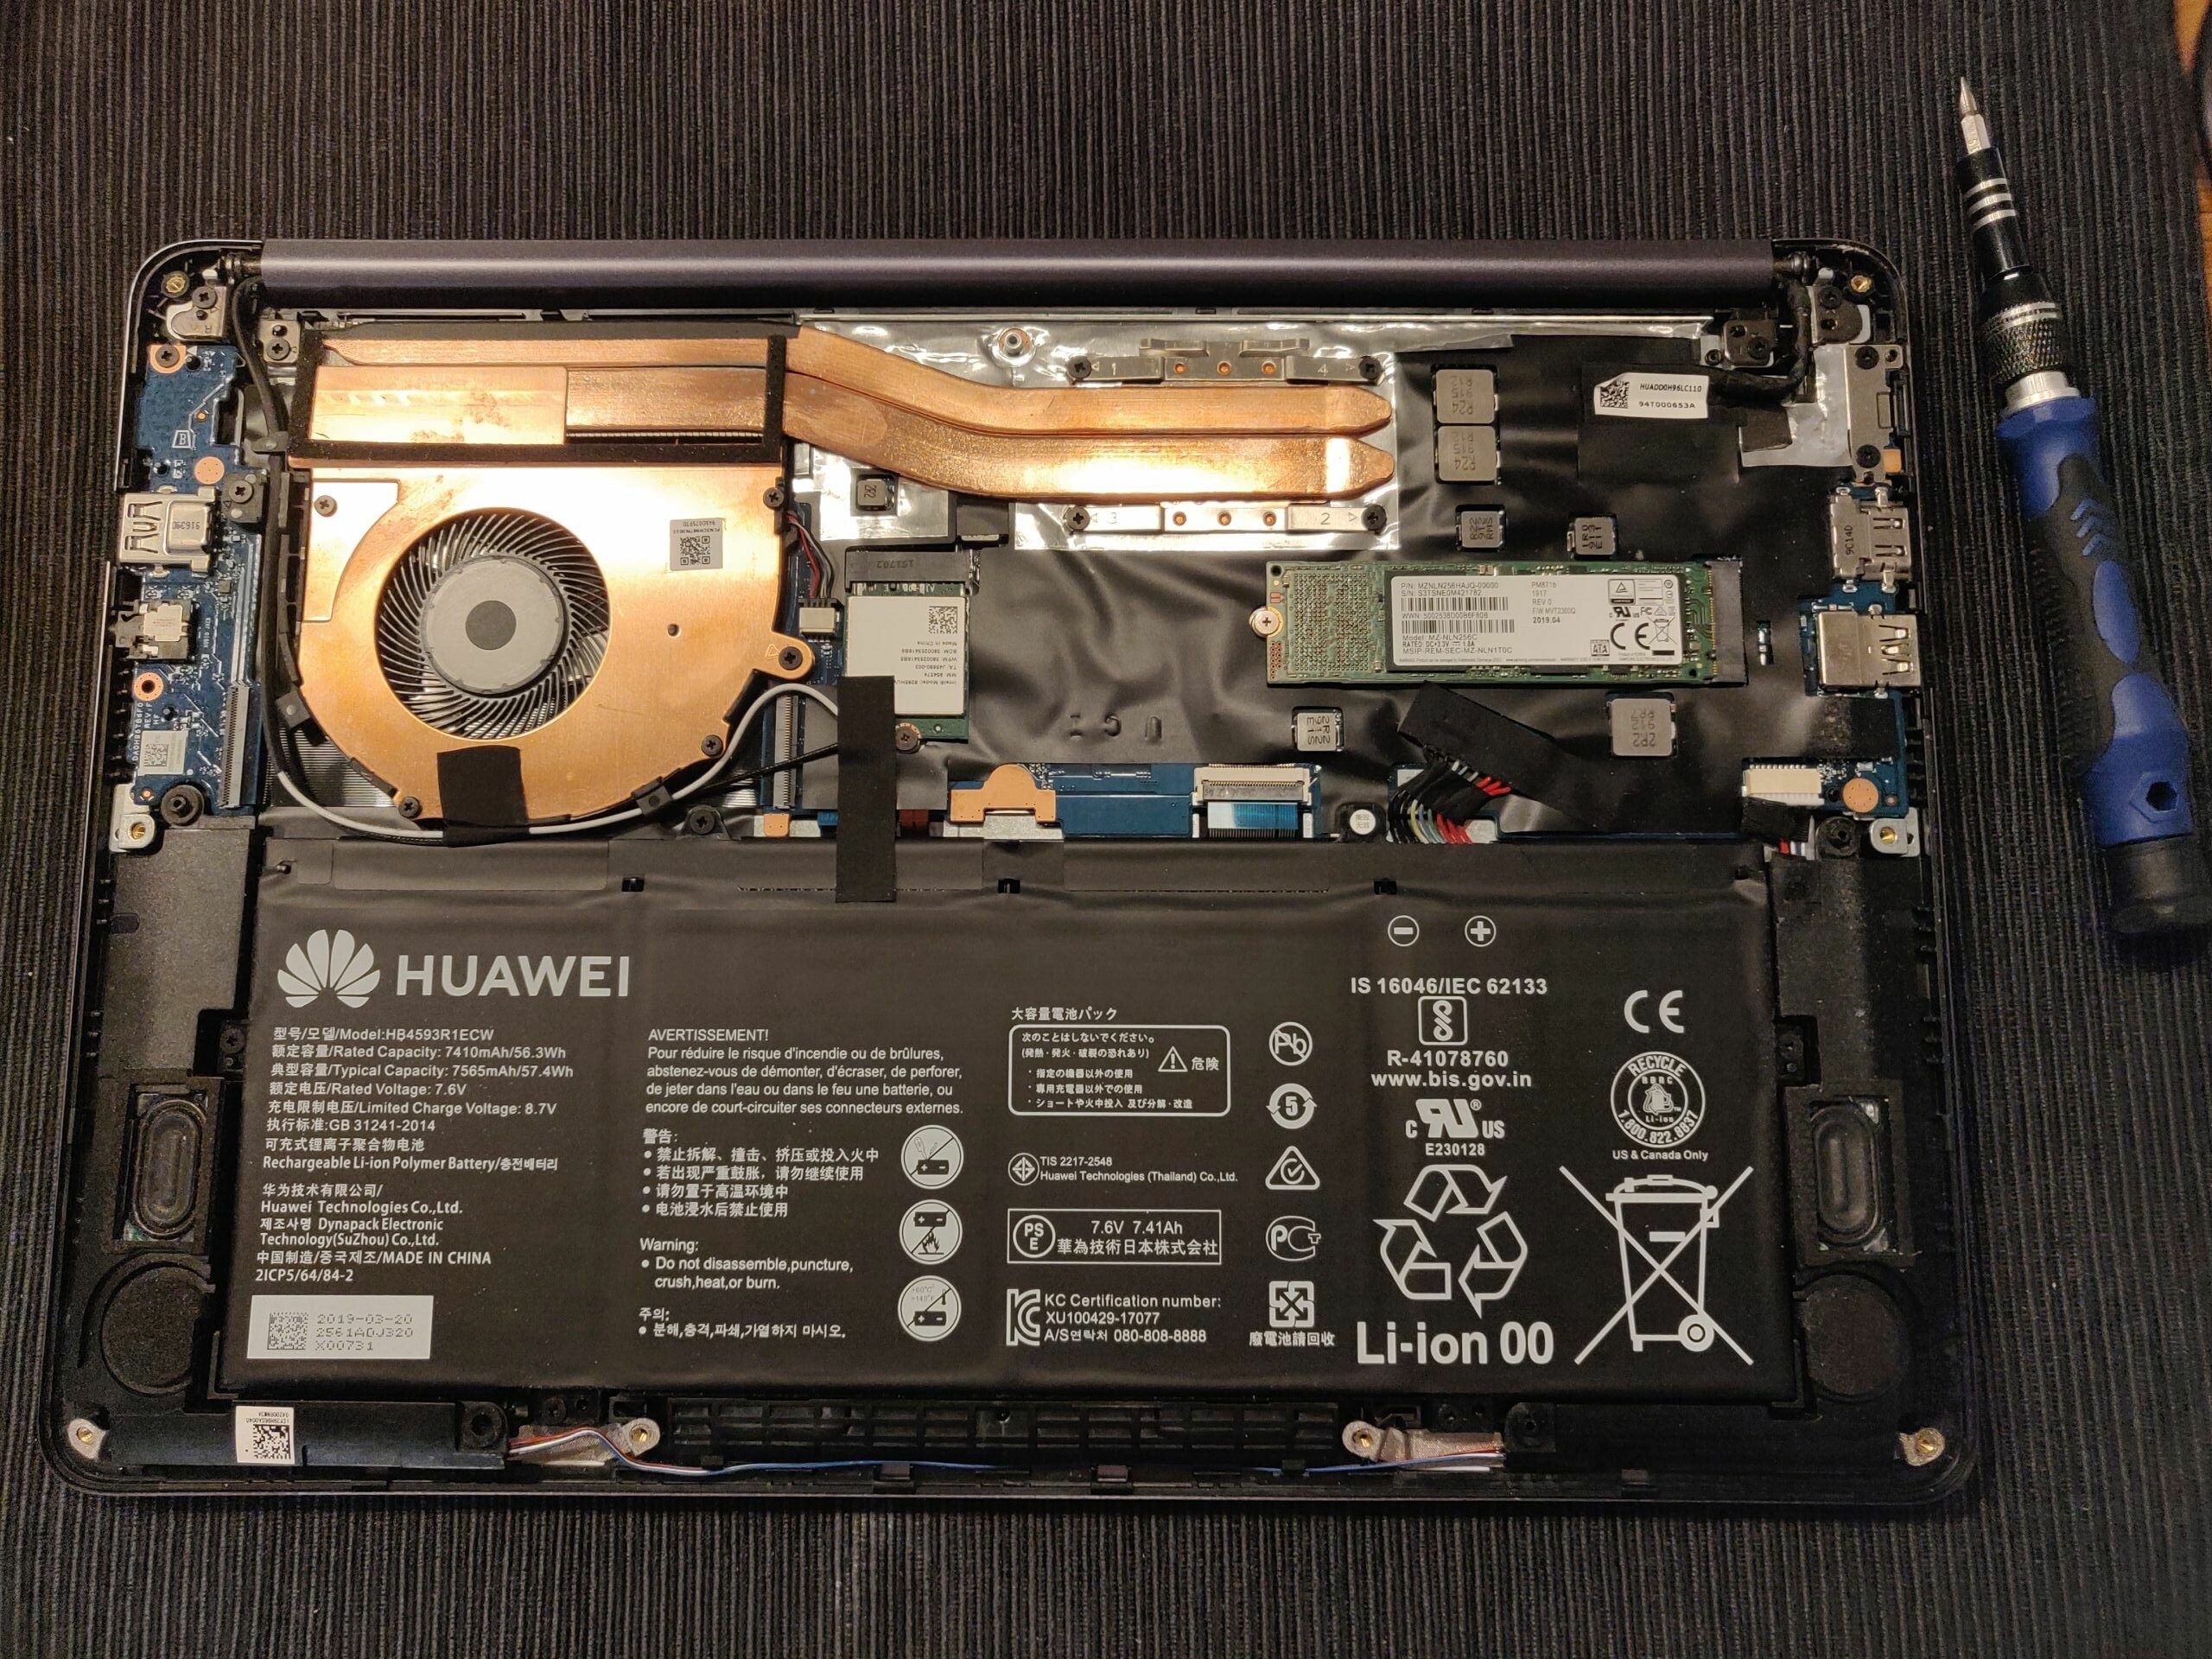
For my device I replaced it with the Samsung V-NAND SSD 970 EVO NVMe M.2 1TB as mentioned in the introduction: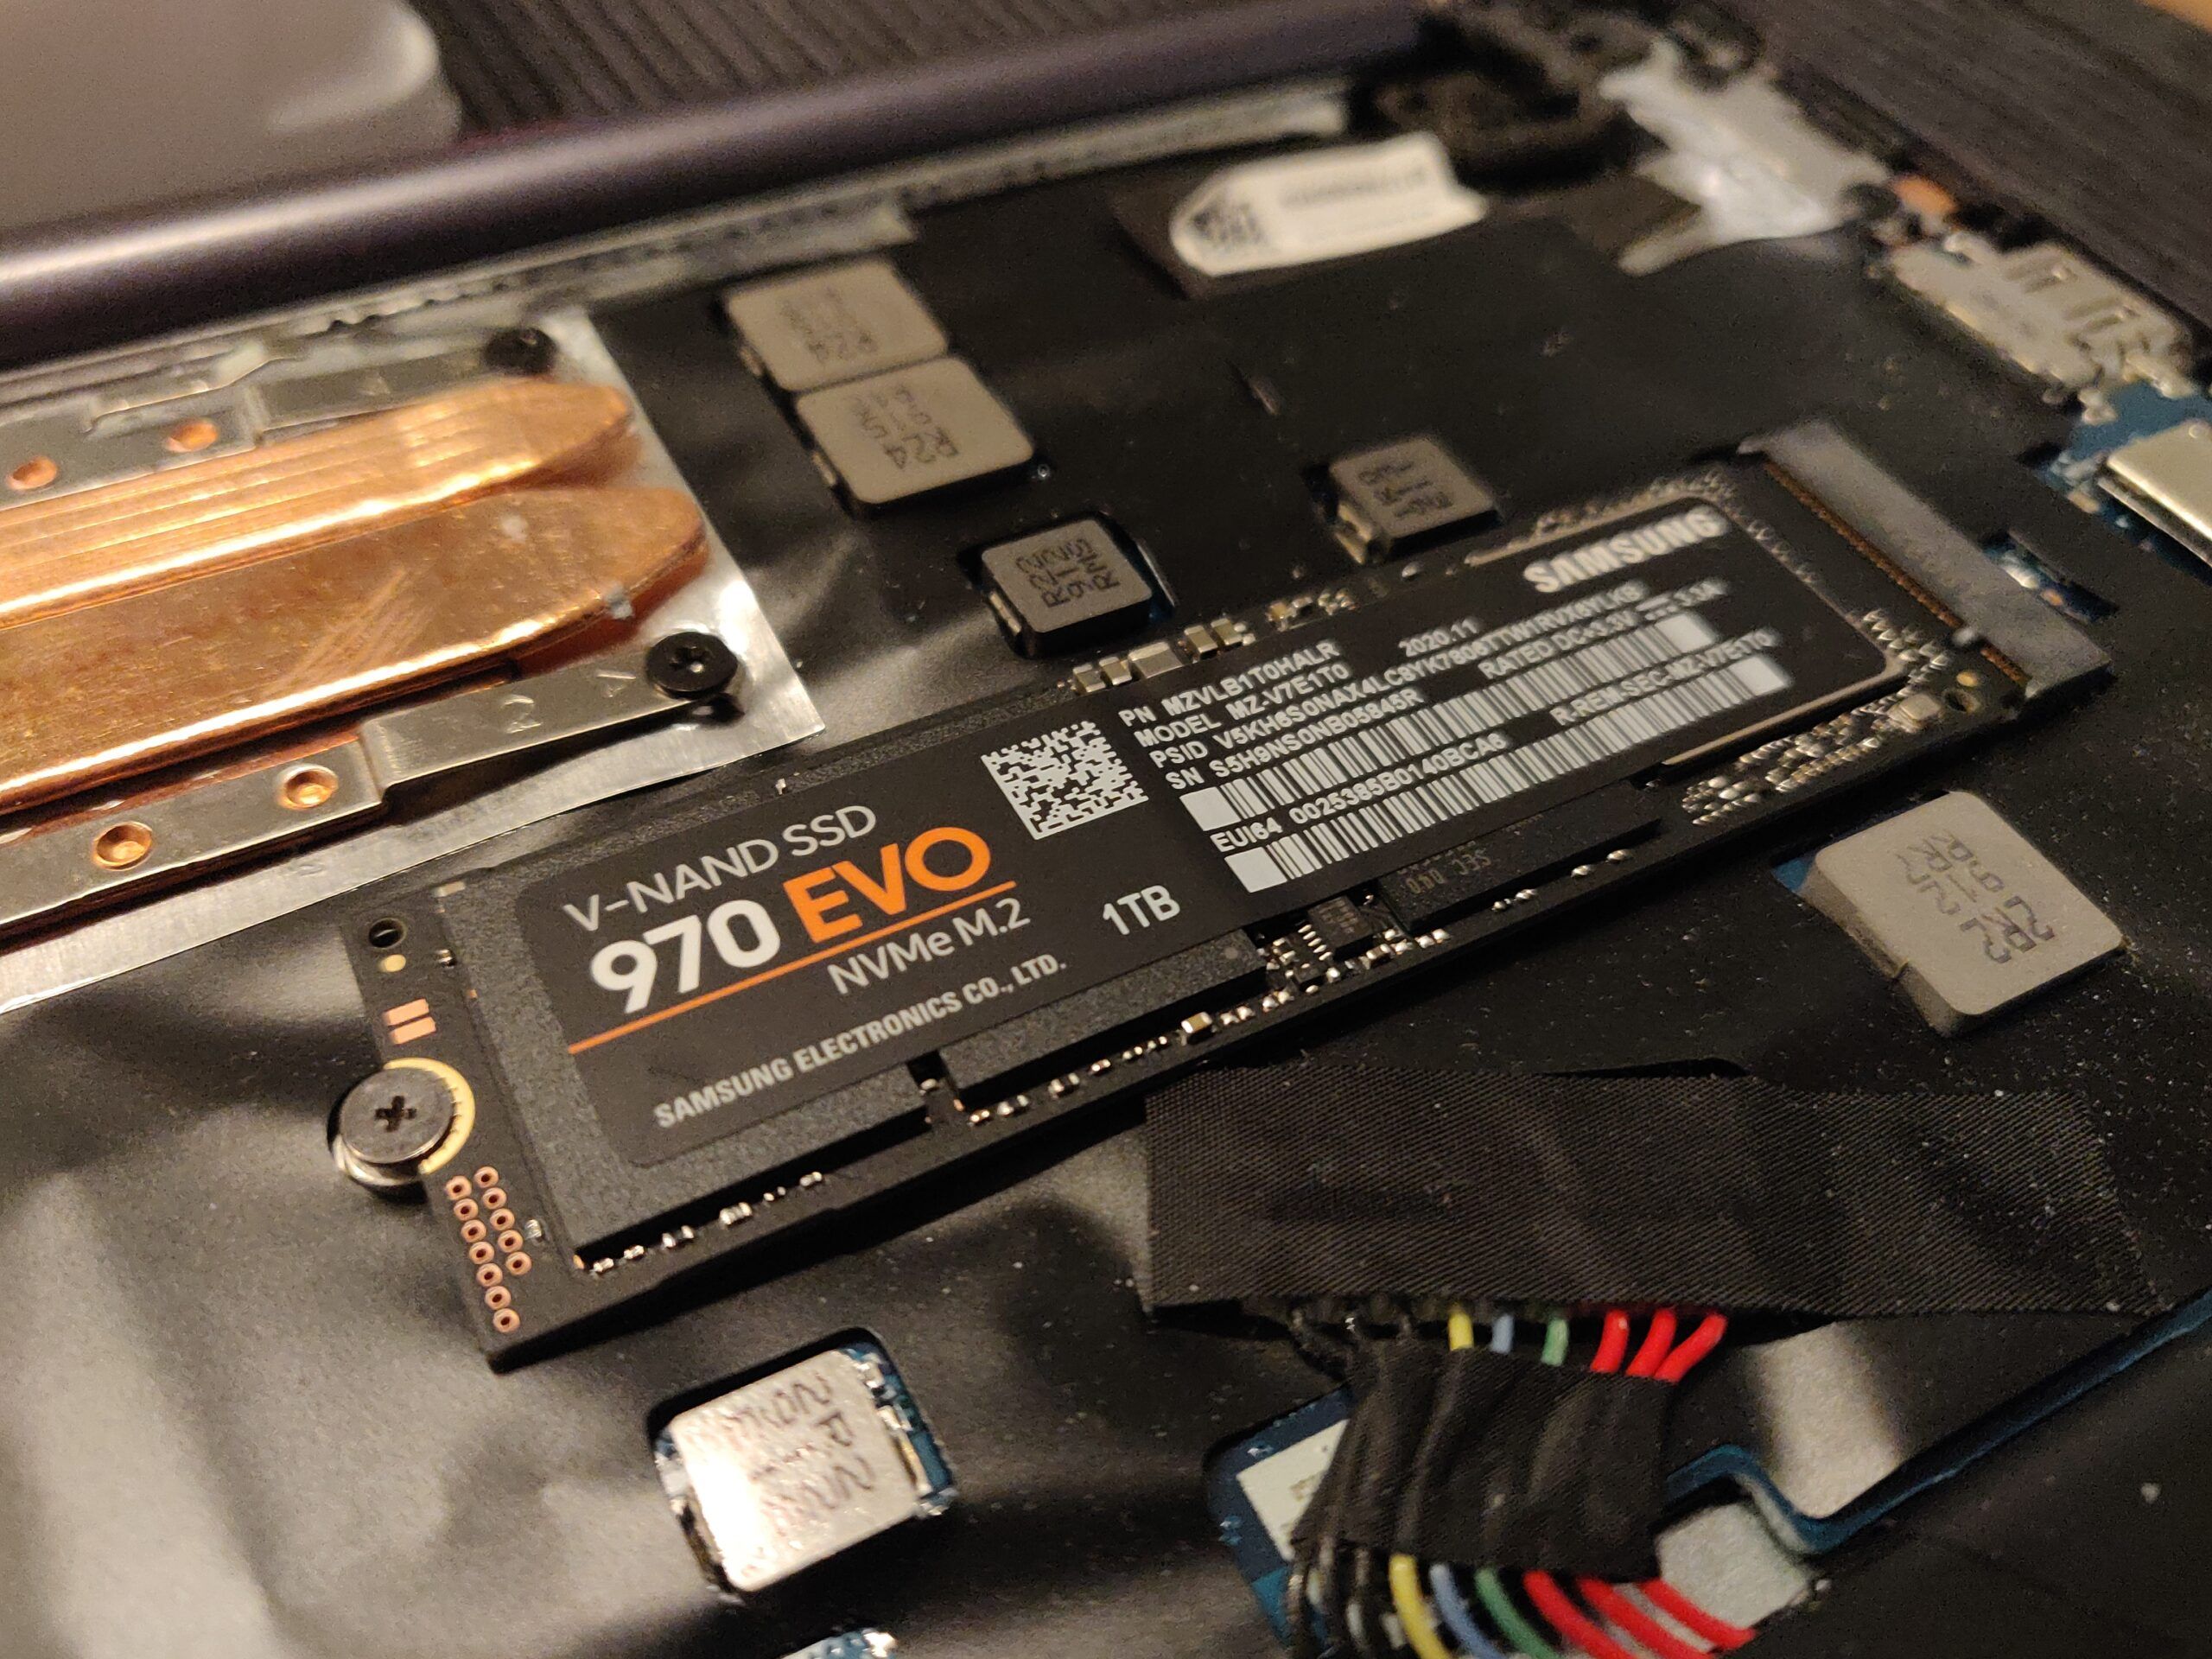

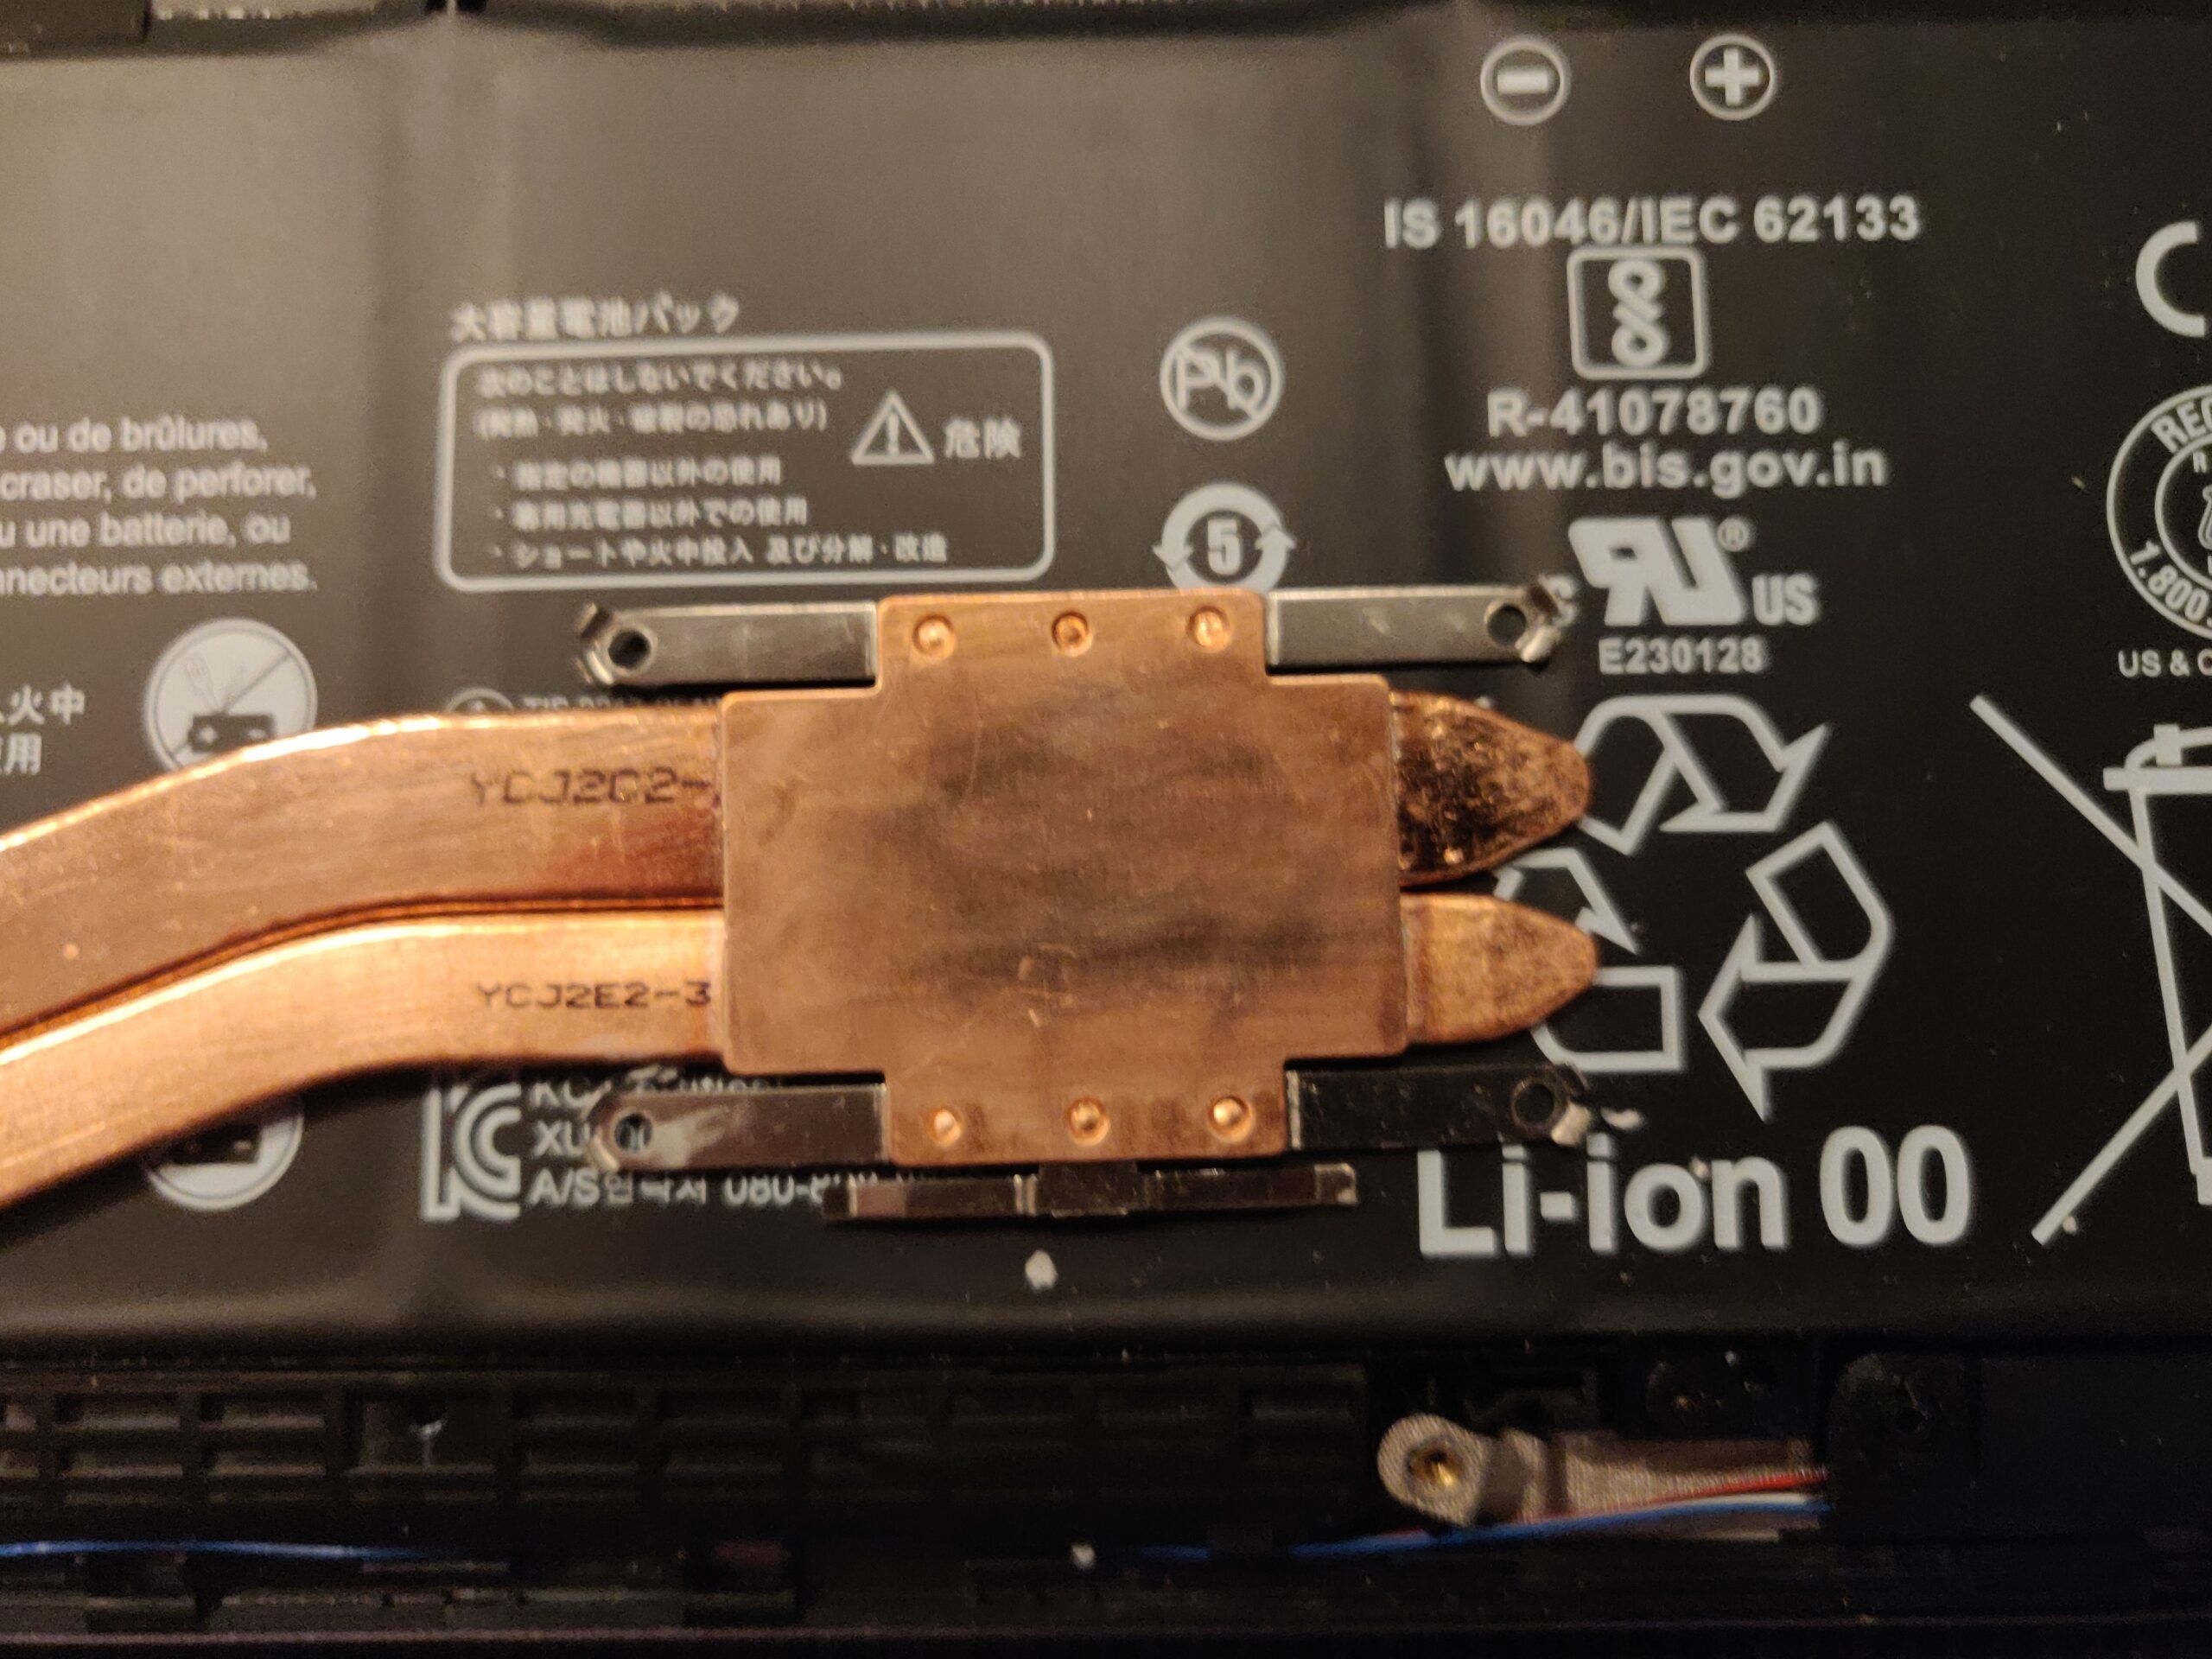
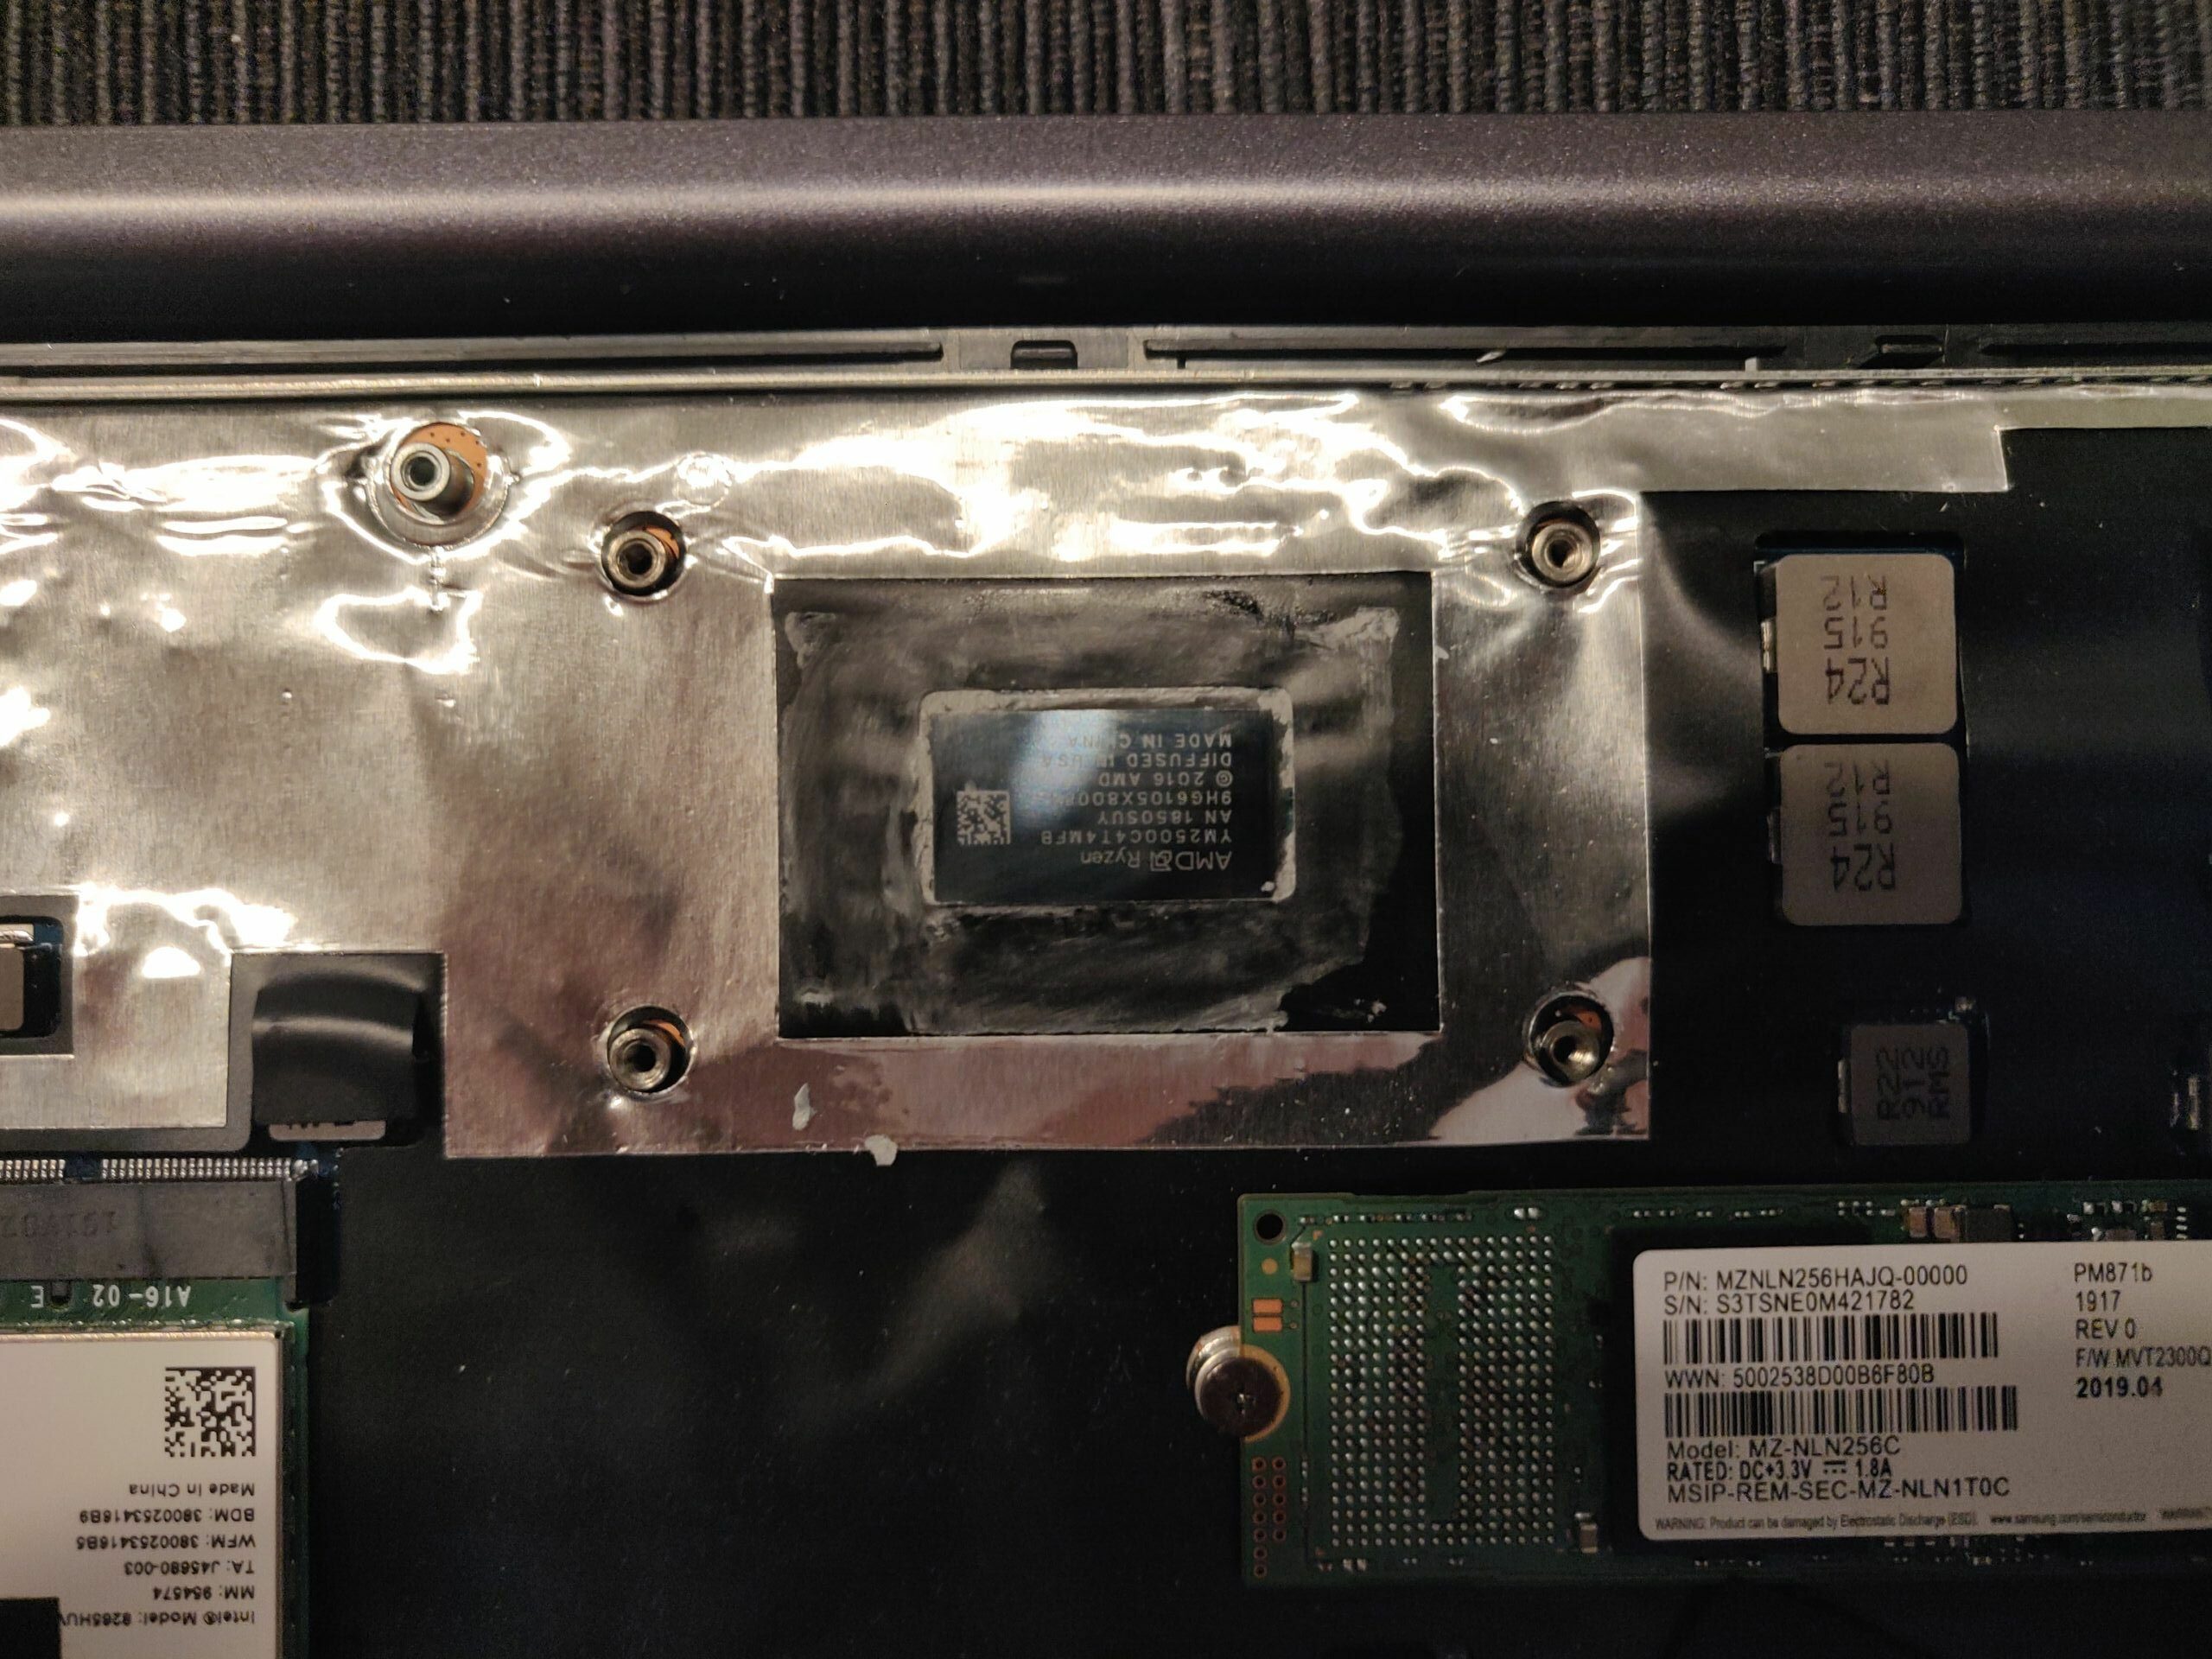
Because I already had the laptop case opened, I decided to replace the Thermal Compound of the CPU and GPU under the heatpipe too. After checking the current condition of the thermal compound I noticed that it was already time to renew it. At first remove the heatpipe:

Then clean both sides, heatpipe as well as CPU/GPU: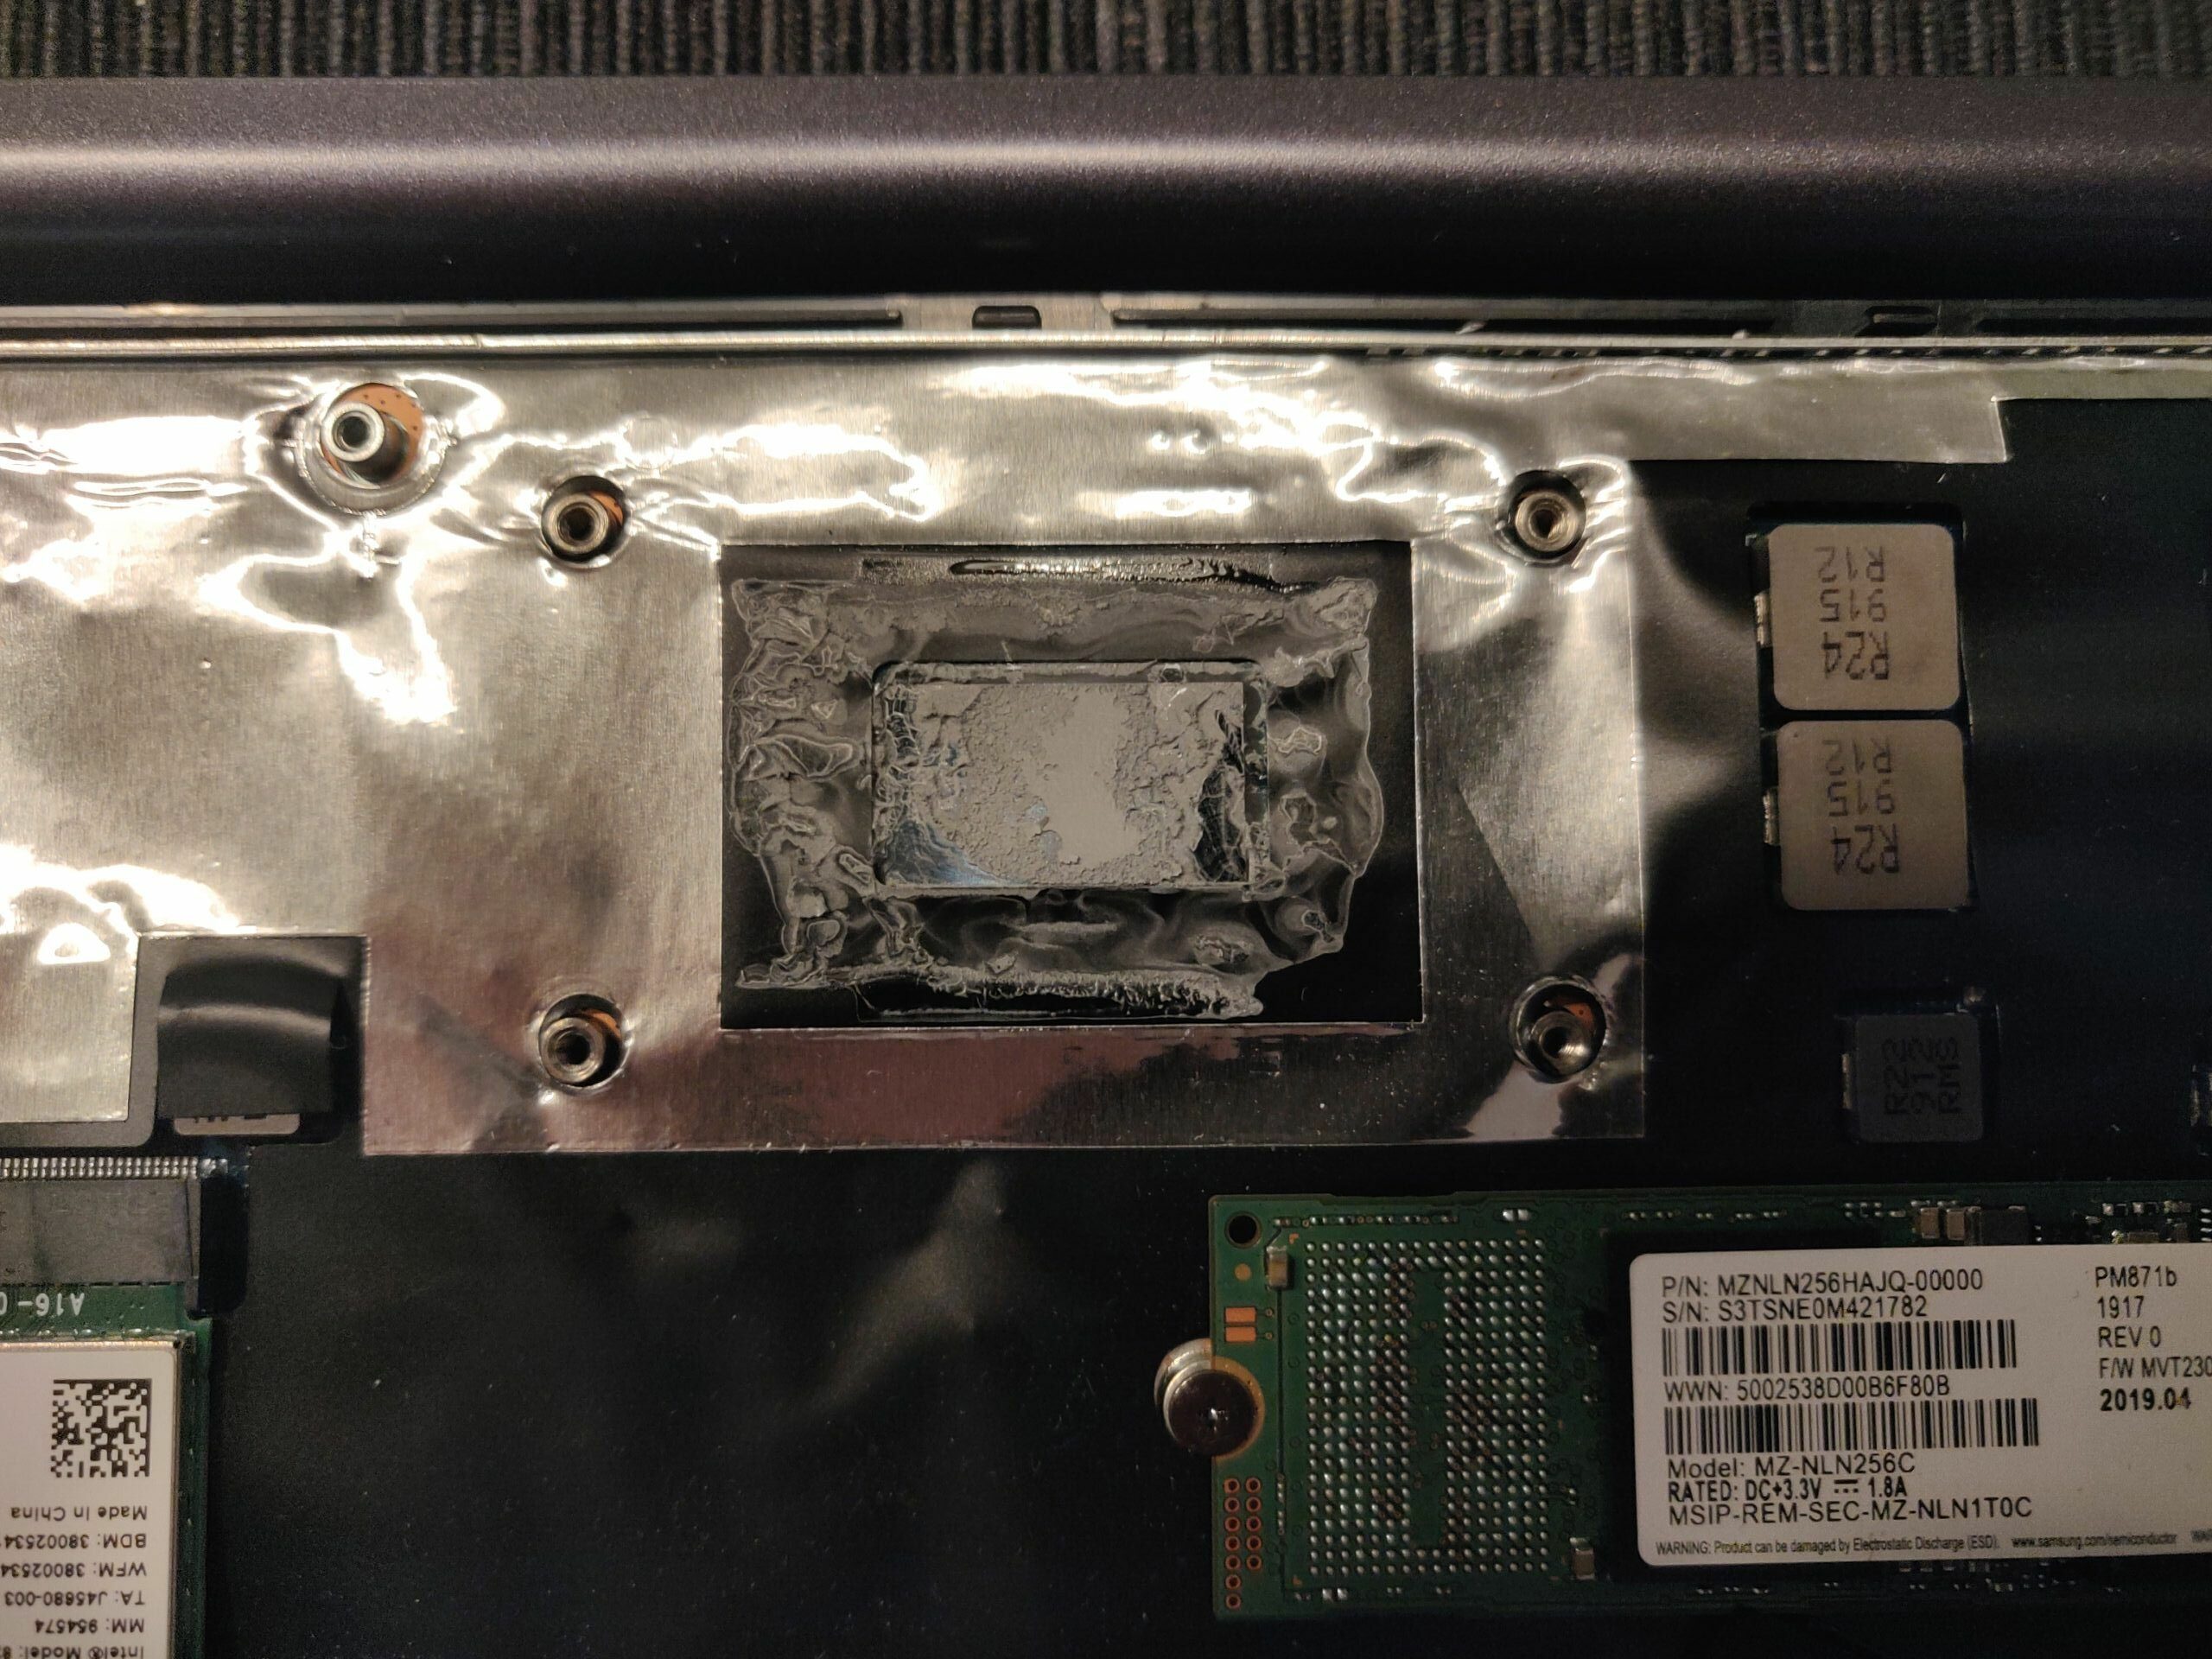
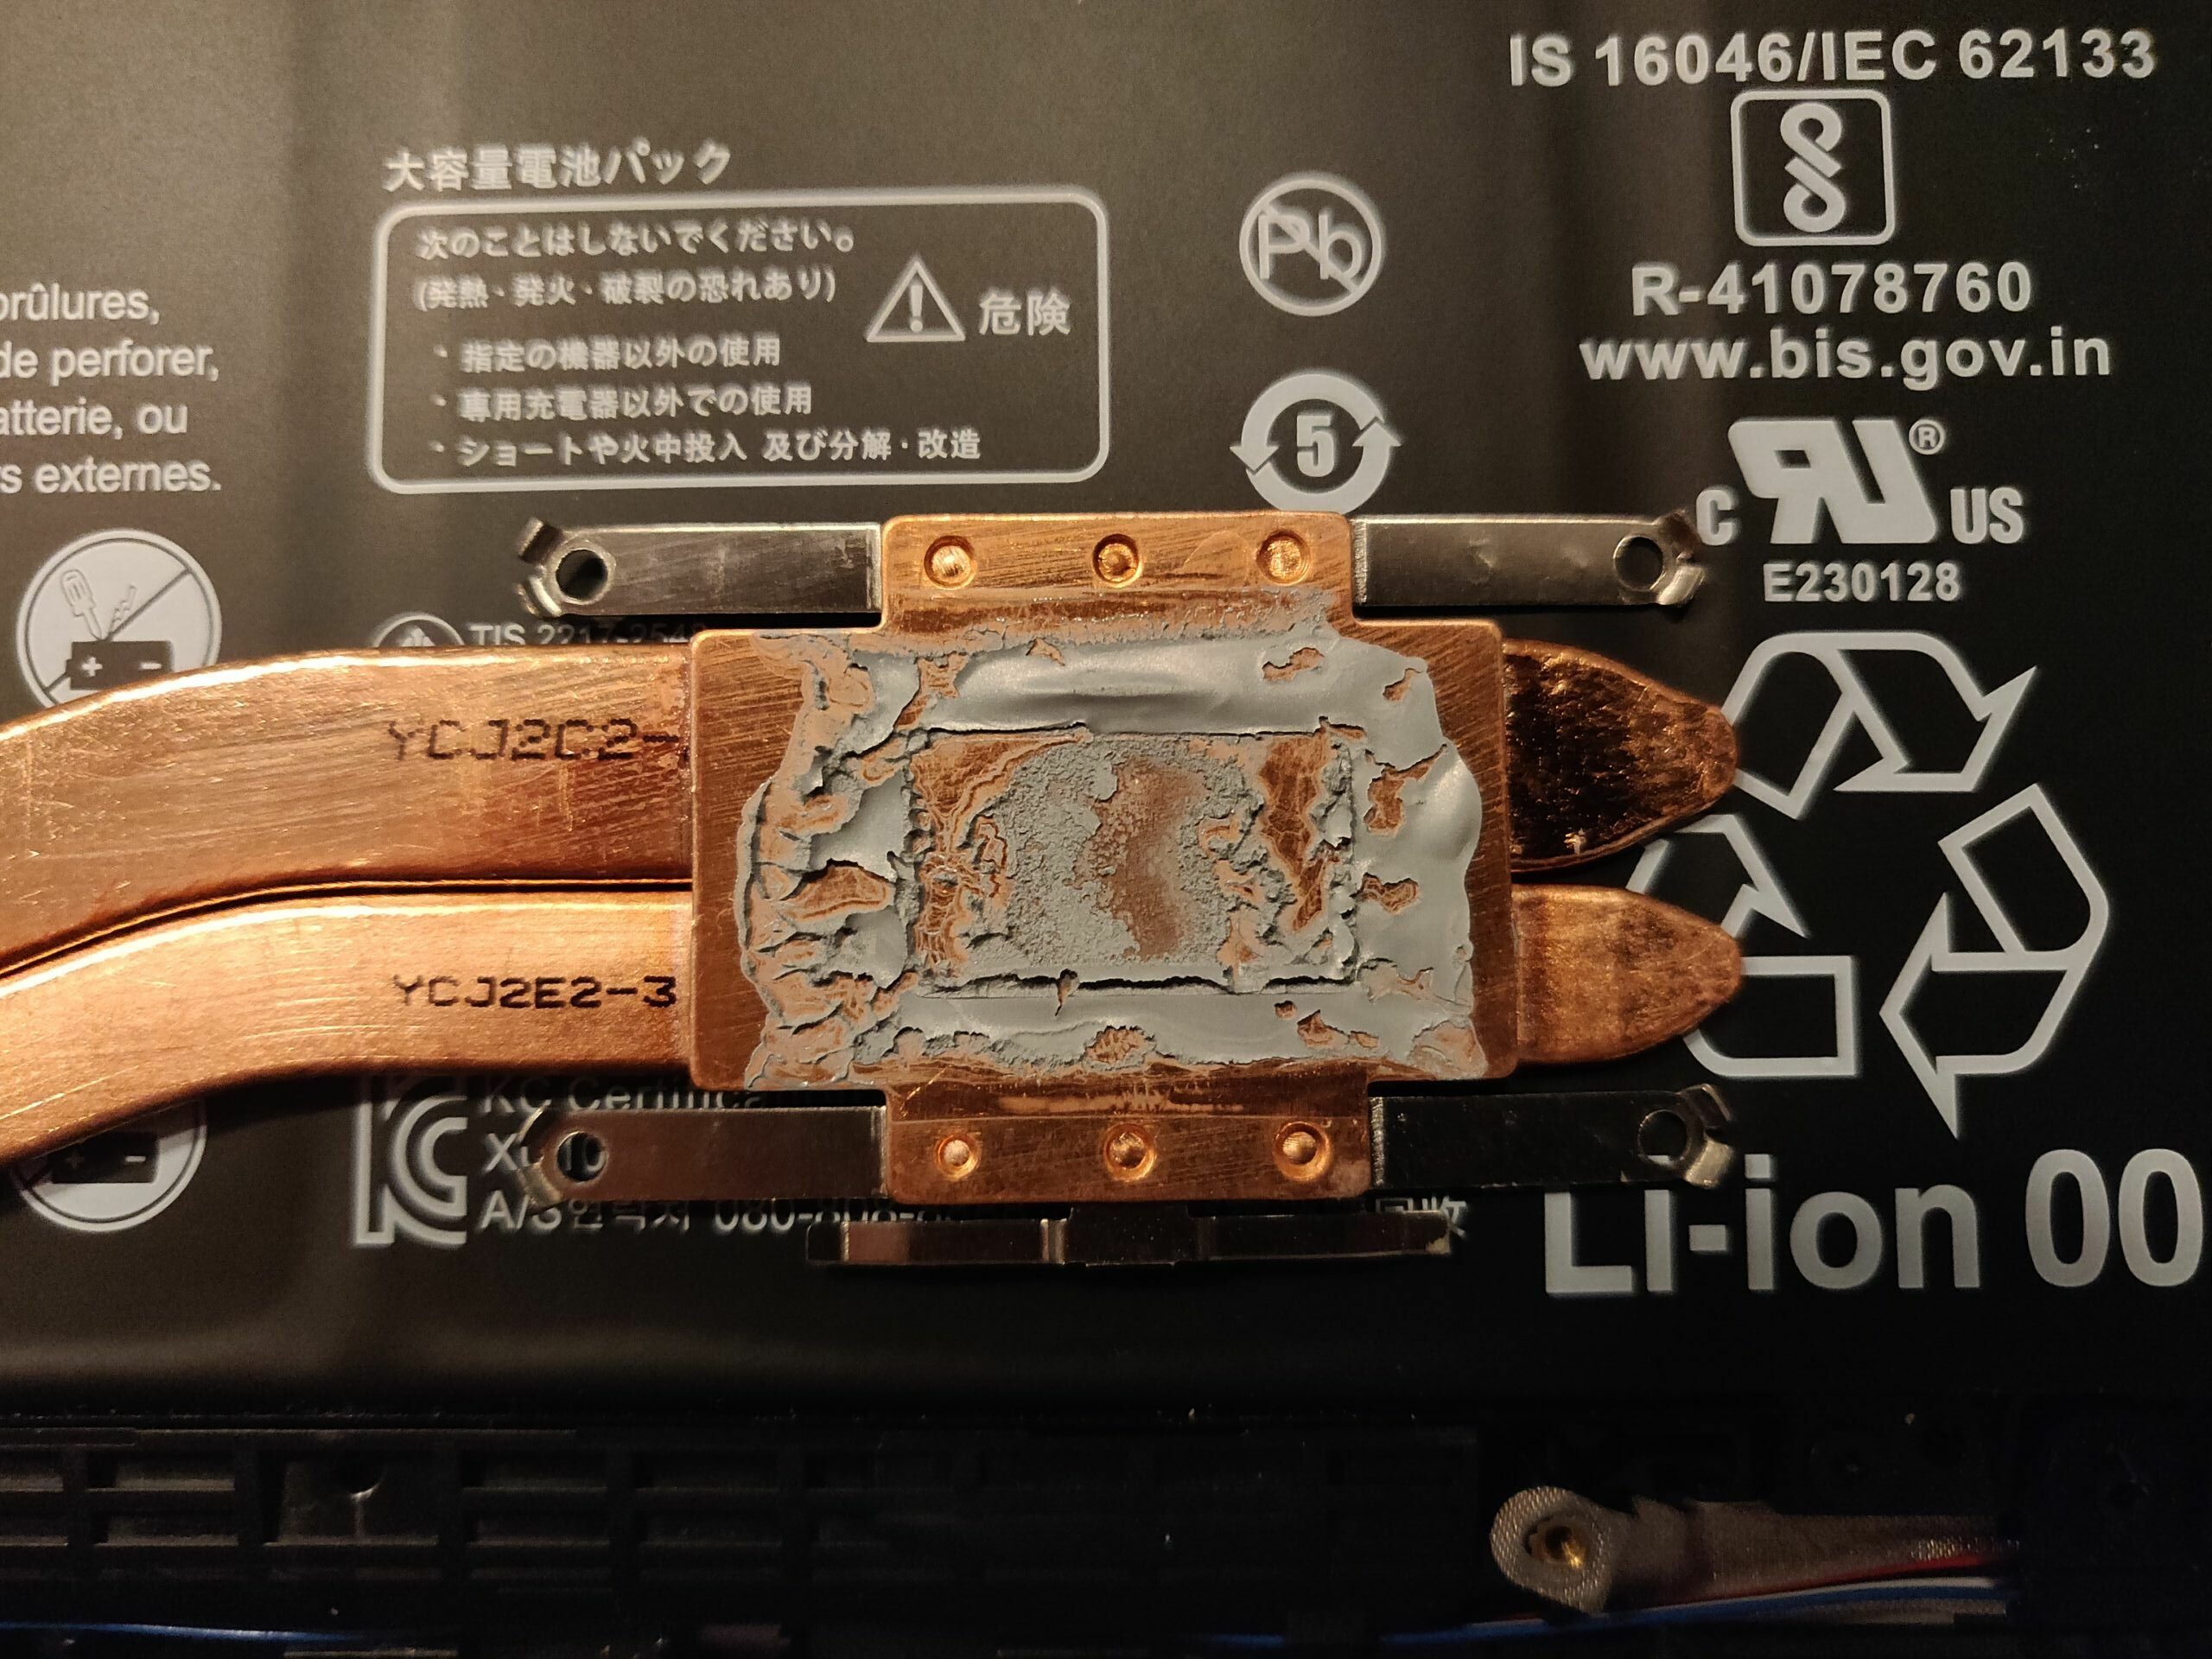
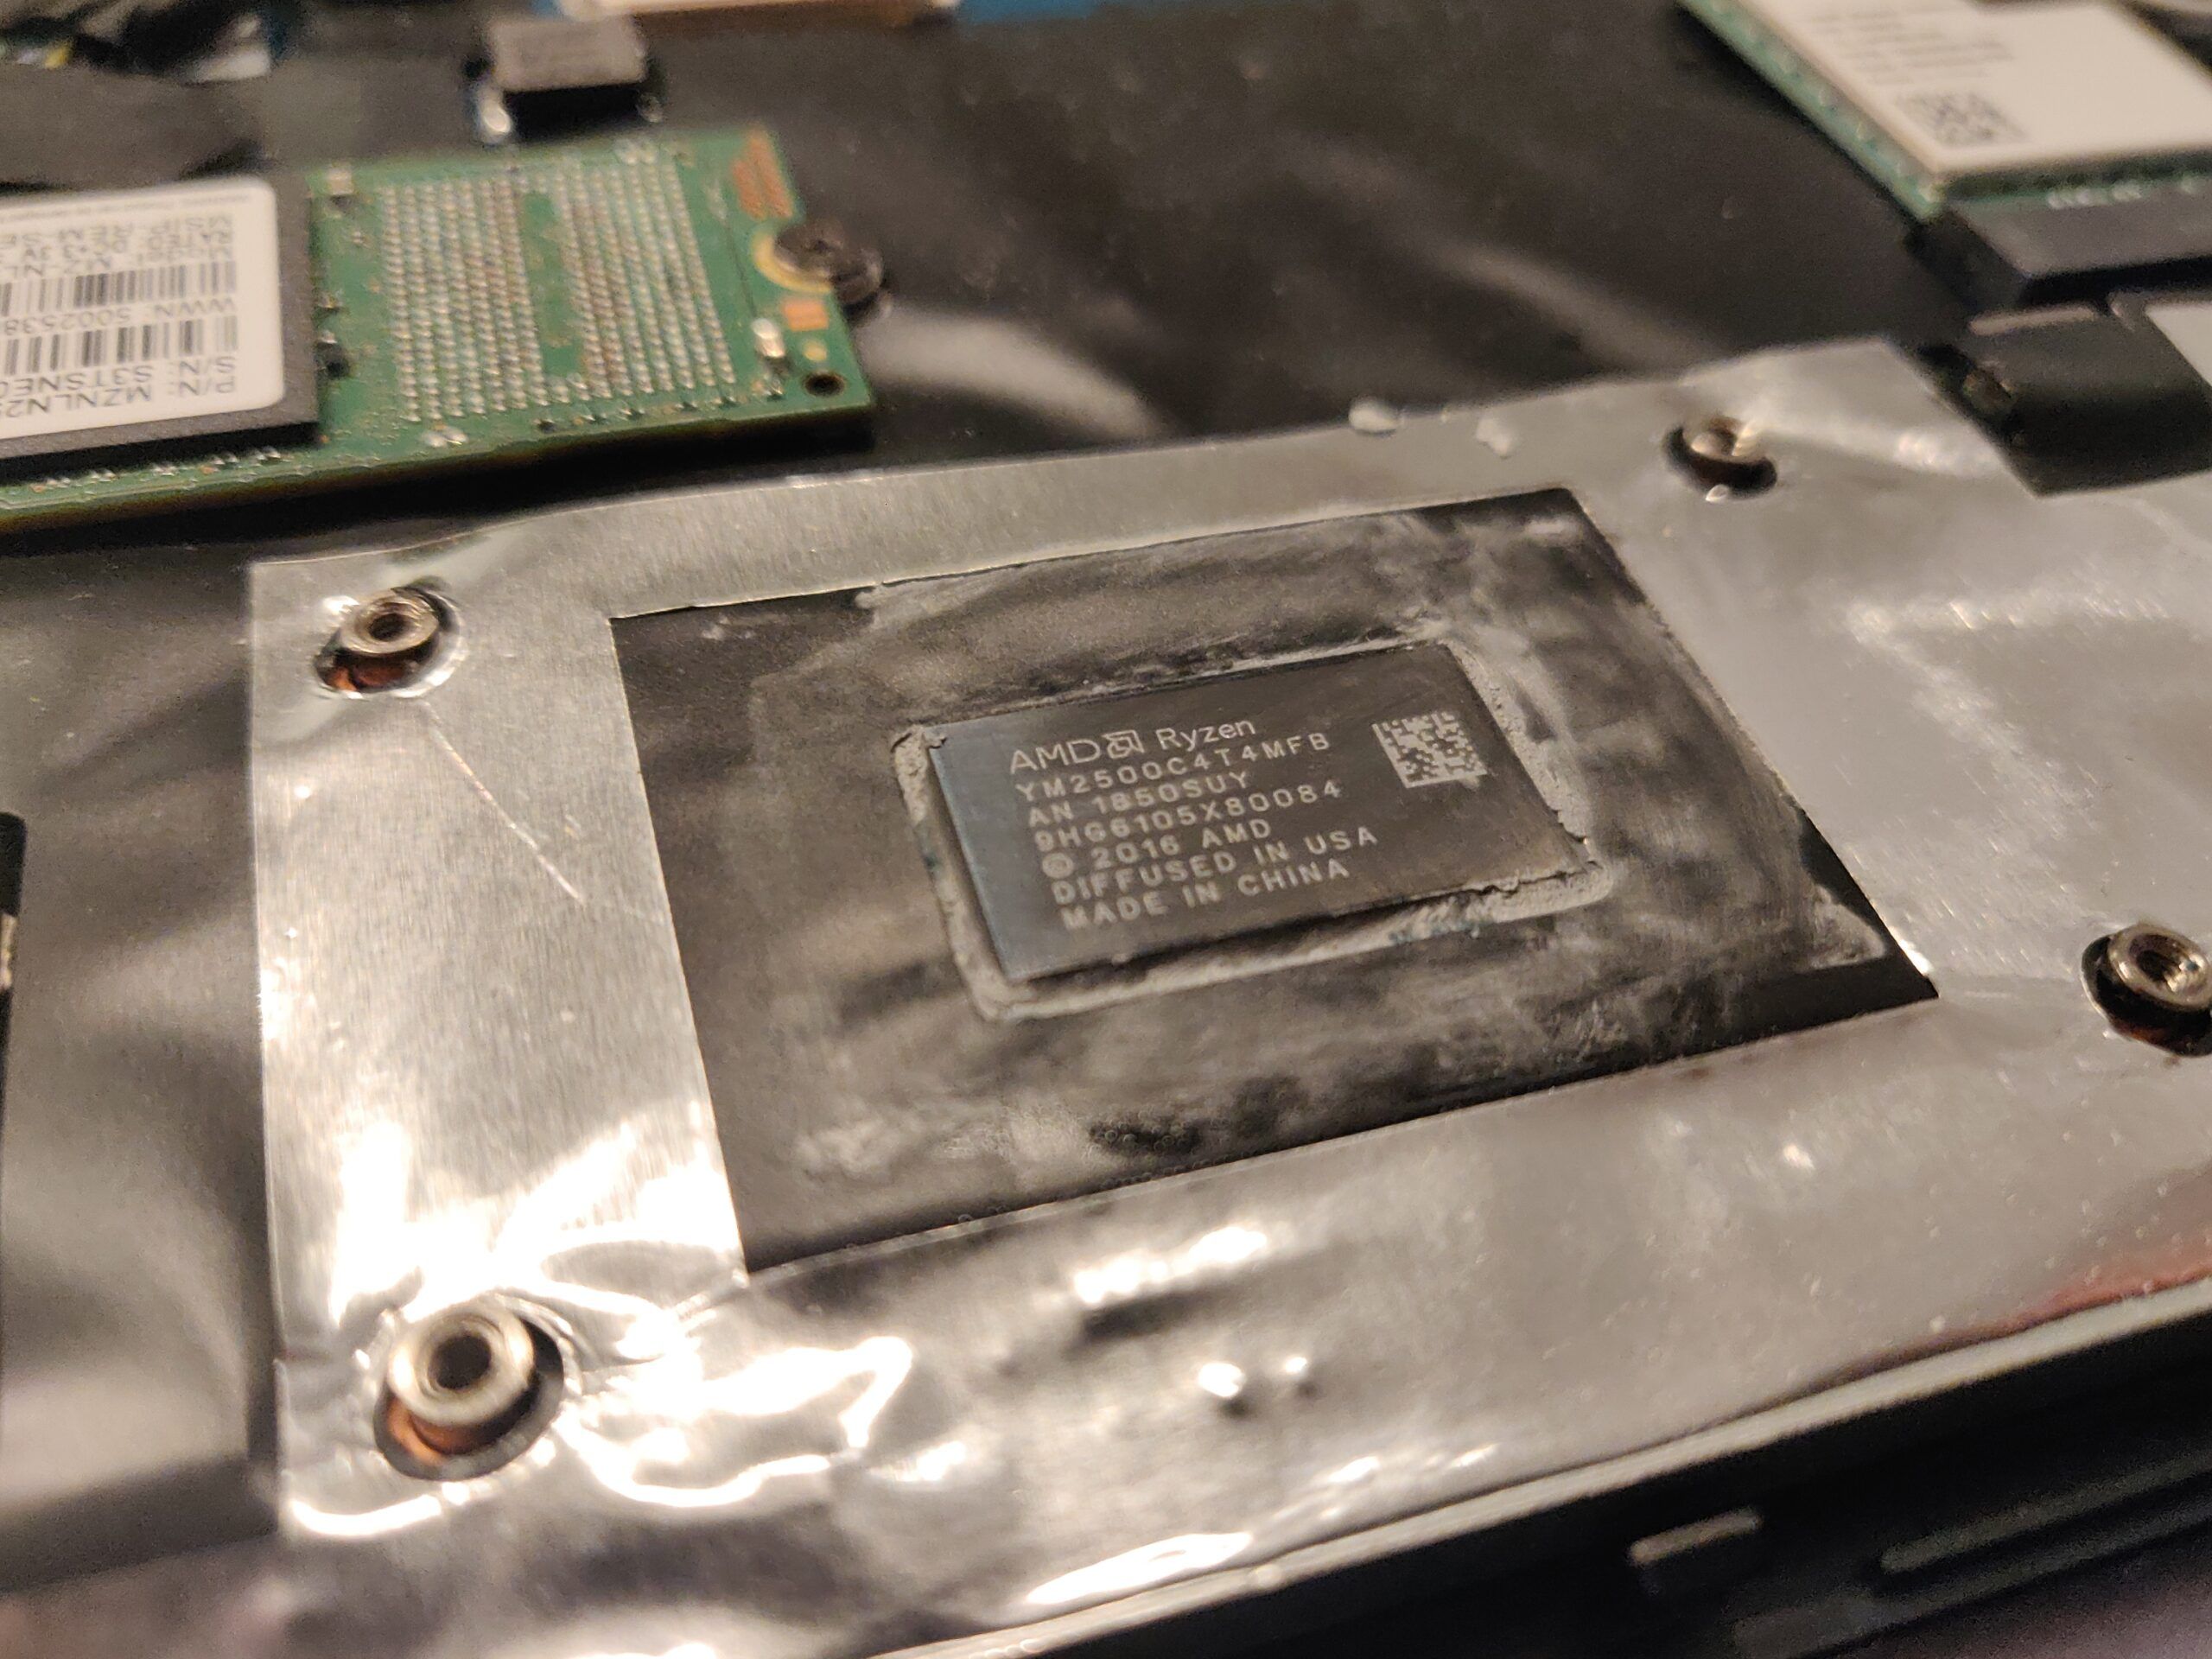
Apply your new Thermal Compound and re-assemble the heatpipe again – finished!
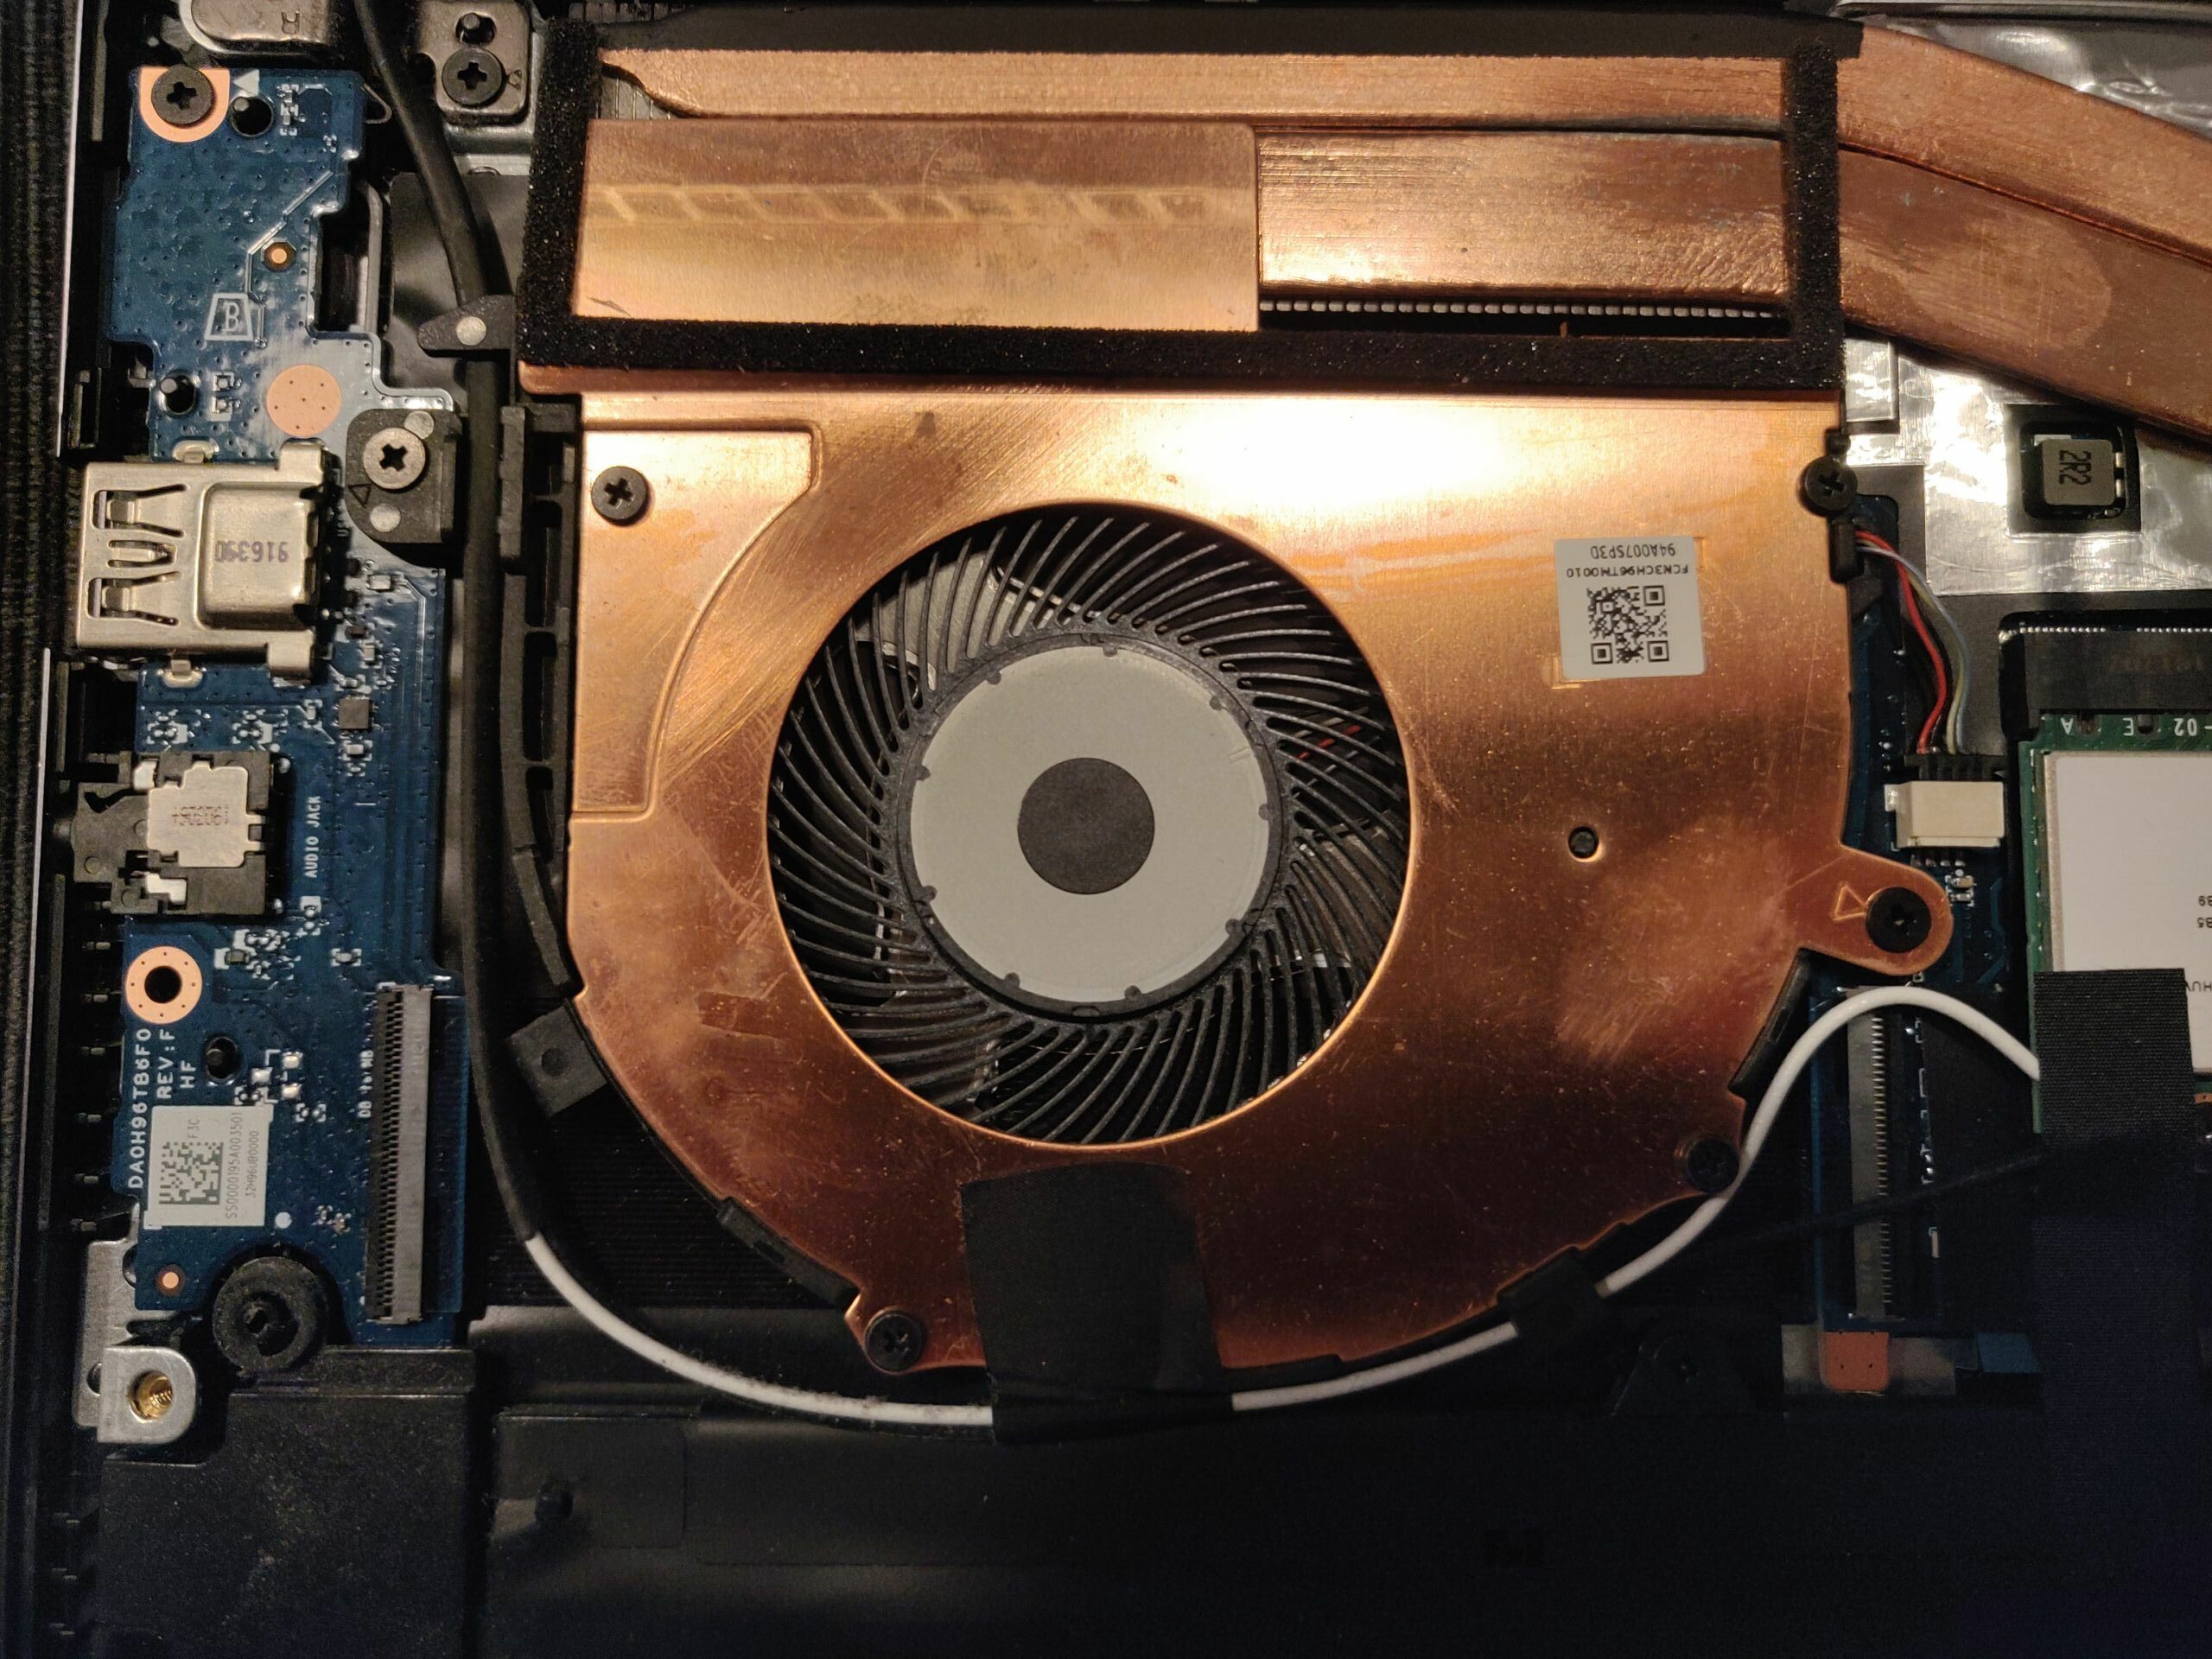
In case you need to replace or clean the fan, I uploaded two photos here: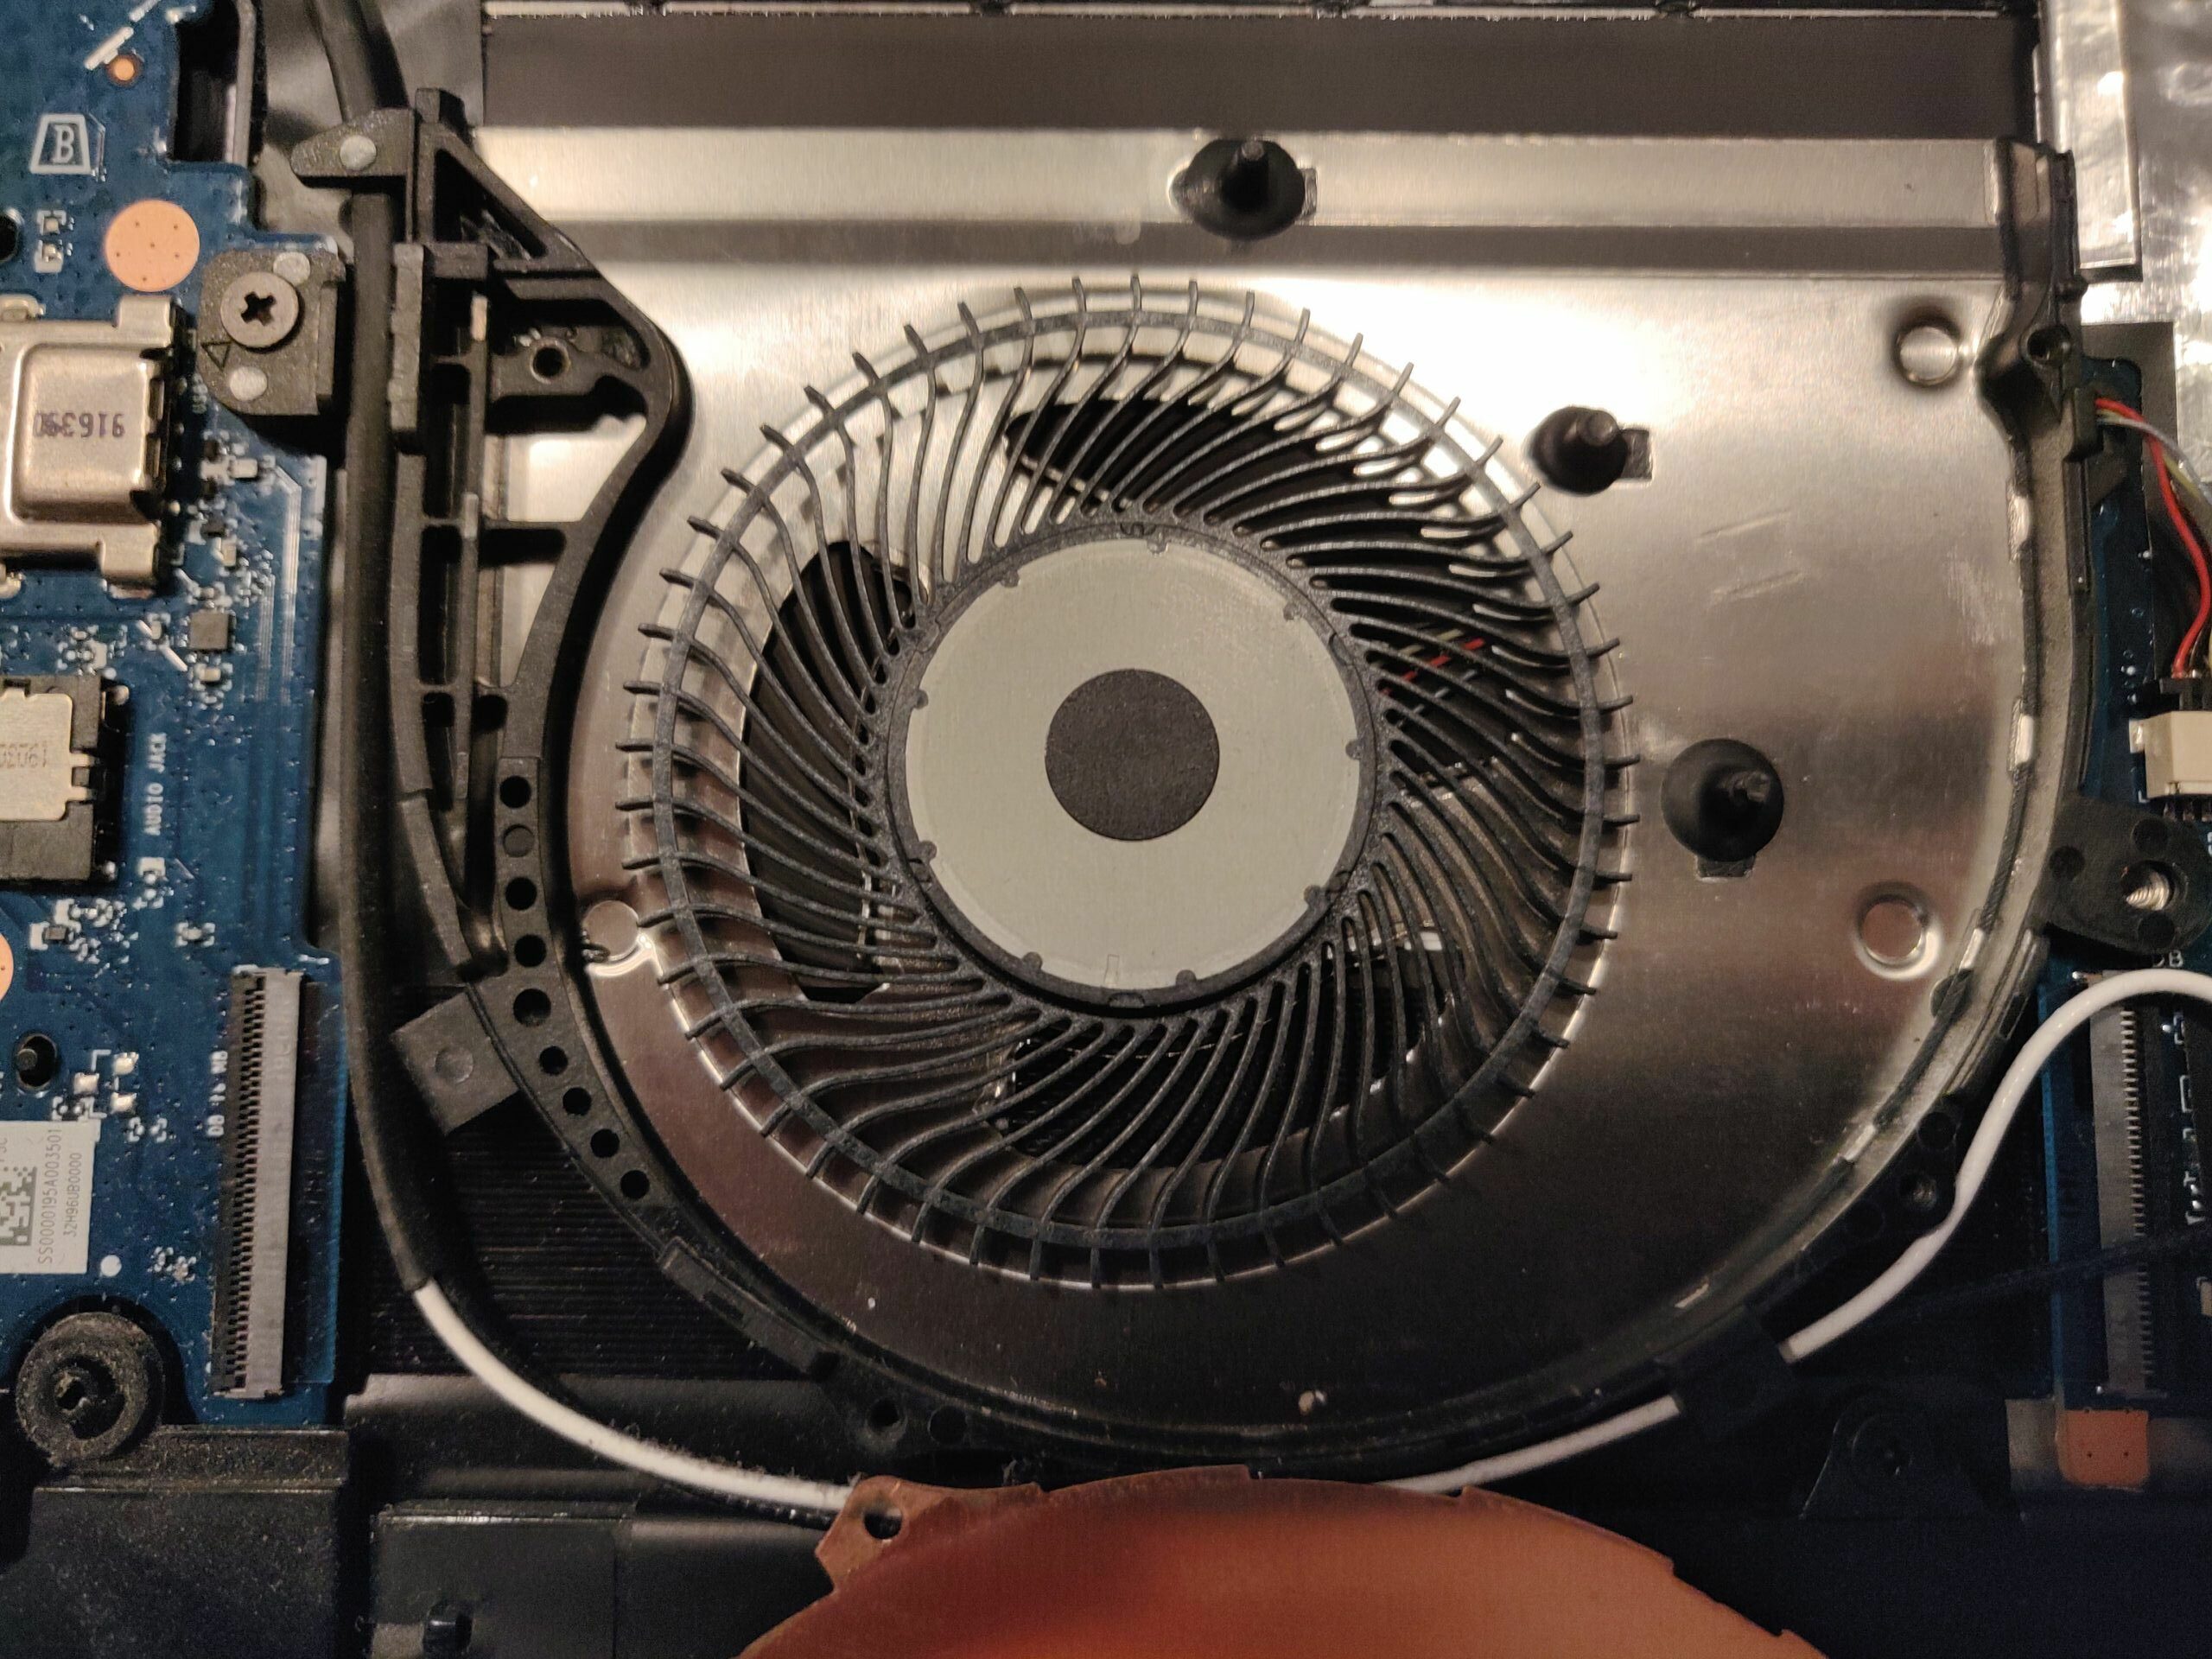
Summary
If you know which SSDs are supported and how to open the backcover the process is very simple and I highly recommend you to upgrade if you need more storage as the device is really great. Unfortunately the memory cannot be upgraded at this model because it is soldered. This is the only fact I do not really like at this model because at some time it might be the bottleneck of this system. Apart from that I can definitely recommend this laptop because cost-benefit ratio is simply amazing.
 Disassembly")


 of your Windows 10 device")
 Disassembly")


